Introduction
The introduction of the container feature into the RouterOS made it possible to run all kinds of servers for all sorts of tasks inside the router. This is especially relevant for people, who want to reduce the number of devices in their network. Instead of running a server on a separate device/machine, why not run it inside the router?
In this guide, we will showcase how to install and host Home-Assist container/server on RouterOS.
Home-Assit is a very popular platform that is used to collect statistics from different sensors and supports different integrations.
We will focus on MQTT integration this time, and for that, we will need to additionally install an MQTT broker eclipse-mosquitto.
Summary
Make sure to study our container guide before proceeding with the configuration. Make sure to check the disclaimer and requirements sections to understand all the risks and necessary steps you might be required to do.
You can find supported architectures by following the link.
At the time, when the guide was published, home-assist image was available for ARM32, ARM64, and AMD64 (CHR and x86) devices.
Based on the guides, the hardware recommended minimal requirements are:
- 2 GB RAM
- 32 GB Storage
- 2vCPU
and that restricts RouterOS hardware options. Currently, only CCR2004-16G-2S+ has a USB slot for additional space and 4 GB RAM. That means → CHR is the most optimal way to go.
Maybe enough with less RAM? RB5009? TEST
But! if you are not planning to "load" the container with large amounts of data, you can get by with 1 GB RAM and use, for example, RB5009UG+S+IN (with an external USB storage).
Container configuration
Sub-menu: /container
note: container package is required.
Container mode
Enable container mode:
/system/device-mode/update container=yes
You will need to confirm the device-mode with a press of the reset button, or a cold reboot, if using container on X86.
Networking
Add x2 veth interfaces (veth2 for home-assist and veth3 for mosquitto):
/interface/veth/add name=veth2 address=172.19.0.2/24 gateway=172.19.0.1
/interface/veth/add name=veth3 address=172.19.0.3/24 gateway=172.19.0.1
Create a bridge for both containers and add veth interfaces to it:
/interface/bridge/add name=ha
/ip/address/add address=172.19.0.1/24 interface=ha
/interface/bridge/port add bridge=ha interface=veth2
/interface/bridge/port add bridge=ha interface=veth3
Forward TCP 8123 for home-assist management and 1883 for non-SSL MQTT (where 192.168.88.1 is the device's LAN IP address) if NAT is required (optional):
/ip firewall nat add action=dst-nat chain=dstnat dst-address=192.168.88.1 dst-port=8123 protocol=tcp to-addresses=172.19.0.2 to-ports=8123
/ip firewall nat add action=dst-nat chain=dstnat dst-address=192.168.88.1 dst-port=1883 protocol=tcp to-addresses=172.19.0.3 to-ports=1883
Environment variables and mounts
Per the home-assist and eclipse-mosquitto documentation, define mounts for the configuration files:
/container mounts add dst=/config name=ha_config src=/ha_config
/container mounts add dst=/mosquitto/config name=msqt_config src=/mosquitto_config
Create an environmental variable for home-assist:
/container envs add key=TZ name=ha_env value=America/Los_Angeles
Getting image
To simplify the configuration, we will get the images from an external library.
Make sure that you have "Registry URL" set accordingly, limit RAM usage (if necessary), and set up a directory for the images:
/container/config/set registry-url=https://registry-1.docker.io tmpdir=pull
Pull home-assist image and wait for it to be extracted:
/container/add remote-image=homeassistant/home-assistant:latest interface=veth2 root-dir=ha mounts=ha_config envlist=ha_env logging=yes
Pull mosquitto image:
/container/add remote-image=eclipse-mosquitto:latest interface=veth3 root-dir=mosquitto mounts=msqt_config logging=yes
After running the command, RouterOS should start "extracting" the package. Check "File System" for newly created folders and monitor container status with the command /container/print.
Home-Assist setup
Open your preferred web browser and access the Home-Assist management portal by specifying management port ":8123":
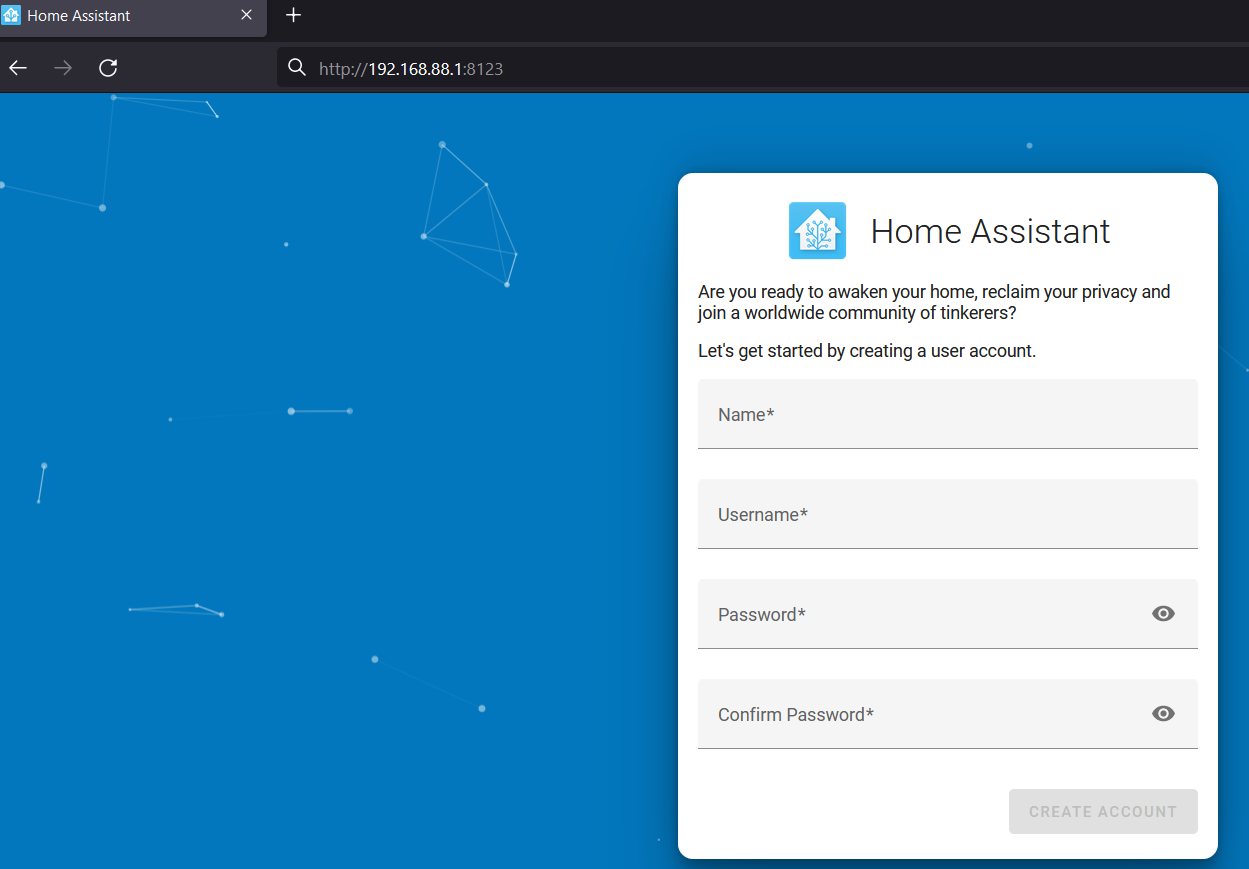
Proceed with the setup. More information is explained in the Home-Assist onboarding guide.
Mosquitto setup
More information on how to configure mosquitto can be found in our separate guide by following the link.
In this example, we will be using a very basic/non-secure mosquitto configuration for testing purposes.
Download mosquitto's current configuration file "mosquitto.conf" using SFTP or FTP:
>sftp admin@192.168.88.1
The authenticity of host '192.168.88.1 (192.168.88.1)' can't be established.
RSA key fingerprint is SHA256:lfxxs+xMrXlvP7hiHi9ZAEZlPi6/c5US+r6J7ljhkaA.
Are you sure you want to continue connecting (yes/no/[fingerprint])?yes
Warning: Permanently added '192.168.88.1' (RSA) to the list of known hosts.
Connected to 192.168.88.1.
sftp> cd mosquitto/mosquitto/config
sftp> dir
mosquitto.conf
sftp> get mosquitto.conf
Fetching /mosquitto/mosquitto/config/mosquitto.conf to mosquitto.conf
Open it with any text editor, like notepad, and overwrite it with the content shown below:
listener 1883
allow_anonymous true
Re-save the same file with the same name "mosquitto.conf" and re-upload it into the mounted mosquitto folder mosquitto_config (that should have been created after starting the container):
>sftp admin@192.168.88.1
Connected to 192.168.88.1.
sftp> cd mosquitto_config
sftp> put mosquitto.conf
Uploading mosquitto.conf to /mosquitto_config/mosquitto.conf
mosquitto.conf                                                                        100%  162    40.5KB/s   00:00
Restart the container:
[admin@MikroTik] > /container/stop 0
[admin@MikroTik] > /container/start 0
If you have enabled container logging, you should see logs indicating that the mosquitto is running.
 11:27:14 container,info,debug 1675416434: mosquitto version 2.0.15 starting
 ....
 11:27:14 container,info,debug 1675416434: Opening ipv4 listen socket on port 1883.
 11:27:14 container,info,debug 1675416434: Opening ipv6 listen socket on port 1883.
 11:27:14 container,info,debug 1675416434: mosquitto version 2.0.15 running
Home-Assist MQTT dashboard setup
If you have access to the Home-Assis management portal, it confirms the server is up and running.
In this section, we will show you how to set up dashboards to easily perceive MQTT posted data.
___
Sub-menu: /iot mqtt
note: iot package is required.
Add an MQTT broker:
/iot/mqtt/brokers/add name=mosquitto username=test address=172.19.0.2
Subscribe to the MQTT broker and the required topic:
/iot/mqtt/subscribe broker=mosquitto topic=test/topic
Publish a static MQTT message:
/iot/mqtt/publish broker="mosquitto" topic="test/topic" message="{\"test\":\"123\"}"
Check subscriptions for received messages:
/iot/mqtt/subscriptions/recv/print
 0 broker=mosquitto topic="test/topic" data="{"test":"123"}"
   time=2023-07-12 10:01:40
You can also check the container logs (if enabled), to confirm the mosquitto is operational:
 12:47:28 container,info,debug 1675421248: New connection from 172.19.0.1:42240 on port 1883.
 12:47:28 container,info,debug 1675421248: New client connected from 172.19.0.1:42240 as MTD8580EC793C4 (p2, c1, k60, u'test').
 12:47:38 container,info,debug 1675421258: Client MTD8580EC793C4 disconnected.