Introduction
The introduction of the container feature into the RouterOS made it possible to run all kinds of servers for all sorts of tasks inside the router. This is especially relevant for people, who want to reduce the number of devices in their network. Instead of running a server on a separate device/machine, why not run it inside the router?
A lot of users need a server that is able to gather the data, store it and display it in a way it is easy to understand. This is where a platform like ThingsBoard can come into play.
It is primarily positioned as an IoT platform and you can find all sorts of use cases for it that they demonstrate in the link.
The most appealing part, from the RouterOS user standpoint, is that it can be used as an MQTT server (MQTT broker) or an HTTP server. Meaning, you can use MQTT publish or HTTP post to post the data. You can find ThingsBoard MQTT API guide by using the link here and HTTP API by using the link here.
In short, you can utilize scripting to collect RouterOS statistics (like uptime, GPS coordinates, packet statistics, and almost anything else that you print into the terminal), then store this information into variables and structure a JSON message out of those. You can, then send this message using MQTT or HTTP post to the ThingsBoard via a scheduler (that will run this script whenever you need it). You can find an example of a basic script that does it in this guide.
ThingsBoard will store and display the data with the help of widgets, which can be used to help you set up dashboards that visualize the data in graphs, tables, maps, and other ways.
There are 3 versions of the ThingsBoard instances available and each of them uses a different database:
You can find more information in the ThingsBoard/docker documentation.
In our example, we will showcase tb-postgres - a single instance of ThingsBoard with PostgreSQL database.
Summary
Sub-menu: /container
note: container package is required.
RouterOS versions that are older than 7.x will not be able to run this scenario as they will not have a "SYSVIPC" feature added to the kernel that allows it to work.
Make sure to study our container guide before proceeding with the configuration. Make sure to check the disclaimer and requirements sections to understand all the risks and necessary steps you might be required to do.
In this example, we will run it on a Cloud Hosted Router (CHR) device. To help you set it up in a Virtual Box, please check our youtube tutorial.
At the time, when the guide was published, thingsboard/tb-postgres image was available for linux/arm64 and linux/amd64 OS/architectures only. Meaning, you are not able to run this scenario on our arm32-bit architecture RouterOS devices.
There are a couple of parameters to keep in mind:
- You need to understand that it is a server and that you will need to have additional space for the data that is stored there and the image itself. In our tests, 8 GB of disk space was plenty enough but! you might want to consider adding more for real-life applications, especially if you are planning on running more containers. Just remember → it might be better to have a reserve.
- Same as with disk space, RAM memory is also important. Per the ThingsBoard documentation, when using a single instance of ThingsBoard with a PostgreSQL database, it is recommended to allocate at least 1GB of RAM and use a minimum load (a few messages per second). 2-4GB RAM is recommended. In other words, if you want to run it on a RouterBoard device, please understand, that you might not be able to achieve it on devices that have less than 1 GB RAM. That is why → consider having a device with more RAM memory to spare. Check your specific device's installed RAM size under the "Specifications" section, like for example CCR2116-12G-4S+.
Go to the tips and tricks section to understand how to limit RAM.
Configuration
Container mode
Enable container mode:
/system/device-mode/update container=yes
You will need to confirm the device-mode with a press of the reset button, or a cold reboot, if using container on X86.
Networking
Add veth interface for the container:
/interface/veth/add name=veth1 address=172.18.0.2/24 gateway=172.18.0.1
Create a bridge for containers and add veth to it:
/interface/bridge/add name=dockertb
/ip/address/add address=172.18.0.1/24 interface=dockertb
/interface/bridge/port add bridge=dockertb interface=veth1
Setup NAT for outgoing traffic:
/ip/firewall/nat/add chain=srcnat action=masquerade src-address=172.18.0.0/24
Forward TCP 9090 for HTTP management (the default HTTP port per ThingsBoard documentation):
We suggest using HTTP access only when testing locally or through a VPN (when you are certain that the local network is safe).
When you want to access container WEB management from the internet (from the public network/WAN), please, instead, consider using HTTPS.
/ip firewall nat add action=dst-nat chain=dstnat dst-address=192.168.88.1 dst-port=9090 protocol=tcp to-addresses=172.18.0.2 to-ports=9090
In the dst-address field shown in DNAT (dst-nat) rule above, we use the device's local IP address. First, use local IPs (local access) to set everything up and confirm that everything is working.
After going through the rest of the steps shown in this guide and verifying that the ThingsBoard management portal works locally → further secure the setup:
- (a) make sure that all default ThingsBoard user credentials were changed/removed and strong passwords were implemented (reference ThingsBoard documentation);
- (b) enable HTTPS (the steps will be explained later on in the guide);
- (c) preferably change HTTPS port to a non-standard one (reference ThingsBoard documentation).
Only when you increase the security and only then → you can consider enabling remote access from WAN (by using your public IP address in the dst-address field instead of the local IP used in the example above). Additionally, to further increase security, use src-address or src-address-list parameter, where you can input your trusted public source IP addresses (a list of known/trusted addresses that, for example, belong to your branch office from where you also want to have access to the server). Please understand that only you are responsible for the security. If you leave a door open, someone may exploit it. You need to have networking knowledge and understand the risks when setting up such scenarios.
Forward TCP 1883 for non-SSL MQTT (the default MQTT port used per ThingsBoard documentation):
We suggest using non-SSL MQTT (TCP 1883) communication only when testing locally or through a VPN (when you are certain that the local network is safe).
Please consider using SSL MQTT (TCP port 8883), instead of non-SSL MQTT (TCP port 1883), for real-life applications, when it comes down to access from the internet (from the public network). If you use non-SSL MQTT, the communication between the client (MQTT publisher) and the server (MQTT broker) can be easily sniffed/packet captured, and that will compromise authentication data (such as client-ids, usernames and passwords).
/ip firewall nat add action=dst-nat chain=dstnat dst-address=192.168.88.1 dst-port=1883 protocol=tcp to-addresses=172.18.0.2 to-ports=1883
Same as with HTTP access, in the dst-address field shown in DNAT (dst-nat) rule above, we use the device's local IP address. First, use local IPs (local access) to set everything up and confirm that everything is working.
After going through the rest of the steps shown in this guide and verifying that the ThingsBoard non-SSL MQTT communication works locally → further secure the setup:
- (a) consider removing template devices from the ThingsBoard installation;
- (b) enable SSL MQTT (the steps will be explained later on in the guide);
- (c) preferably change MQTT port to a non-standard one (reference ThingsBoard documentation).
When you enable SSL MQTT, you can consider opening TCP 8883 (which is the default SSL MQTT port) from WAN (by using your public IP address in the dst-address field instead of the local IP, and changing dst-port and to-ports from 1883 to 8883). Additionally, to further increase security, use src-address or src-address-list parameters, where you can set up your trusted public IP address list. As a result, only configured trusted IPs will be able to establish an MQTT connection with the ThingsBoard broker.
Environment variables and mounts
Check docker-thingsboard documentation for exact mounts and variables that need to be added.
Environment variables:
/container/envs/add name=tb_envs key=TB_QUEUE_TYPE value="in-memory"
Mounts:
/container/mounts/add name=mytb-data src=tb/mytb-data dst=/data
/container/mounts/add name=mytb-logs src=tb/mytb-logs dst=/var/log/thingsboard
Getting image
To simplify the configuration, we will get the image from an external library but you can also import it via the .tar file.
Make sure that you have "Registry URL" set accordingly, limit RAM usage (if necessary), and set up a directory for the image.
/container/config/set registry-url=https://registry-1.docker.io tmpdir=pull ram-high=2048.0MiB
Pull image:
/container/add remote-image=thingsboard/tb-postgres:latest interface=veth1 root-dir=ThingsBoard mounts=mytb-data,mytb-logs envlist=tb_envs logging=yes
After running the command, RouterOS should start "extracting" the package. Check "File System" for newly created folders and monitor container status with the command /container/print.
Starting the container
After you make sure that the container has been added and the status changed to status=stopped after using /container/print → you can initiate it:
/container/start 0
Wait for a couple of minutes for the container to fully load.
Verification
Verify that both the HTTP access and MQTT publish works with a few quick steps shown below.
Management access
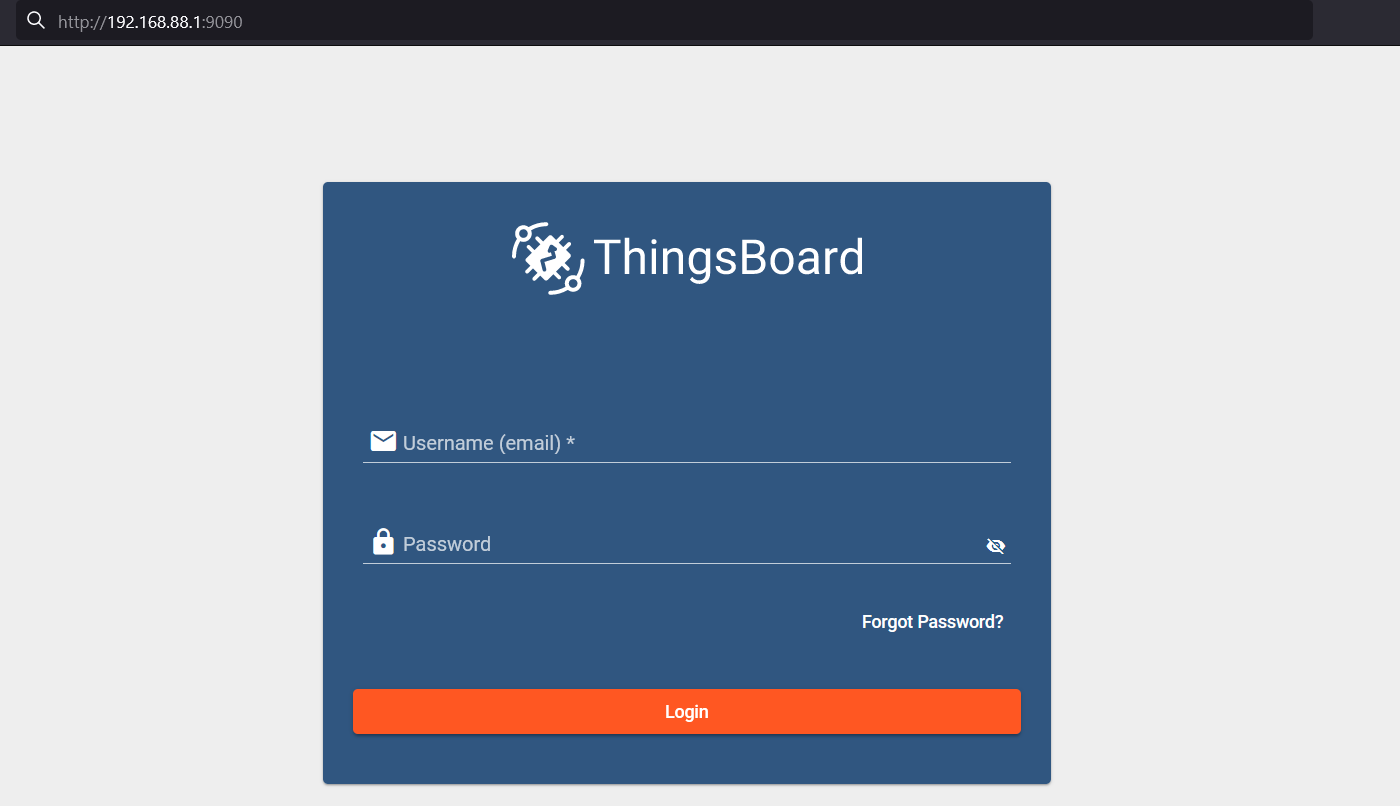
After the container is started and installed, access it using any browser via the machine, where CHR is installed, by going to → http://192.168.88.1:9090 (where the IP address is the address used in the DNAT rule).
By default, credentials are (Username/Password):
- Systen Administrator: sysadmin@thingsboard.org / sysadmin
- Tenant Administrator: tenant@thingsboard.org / tenant
The login prompt should confirm that the server is running.
MQTT test
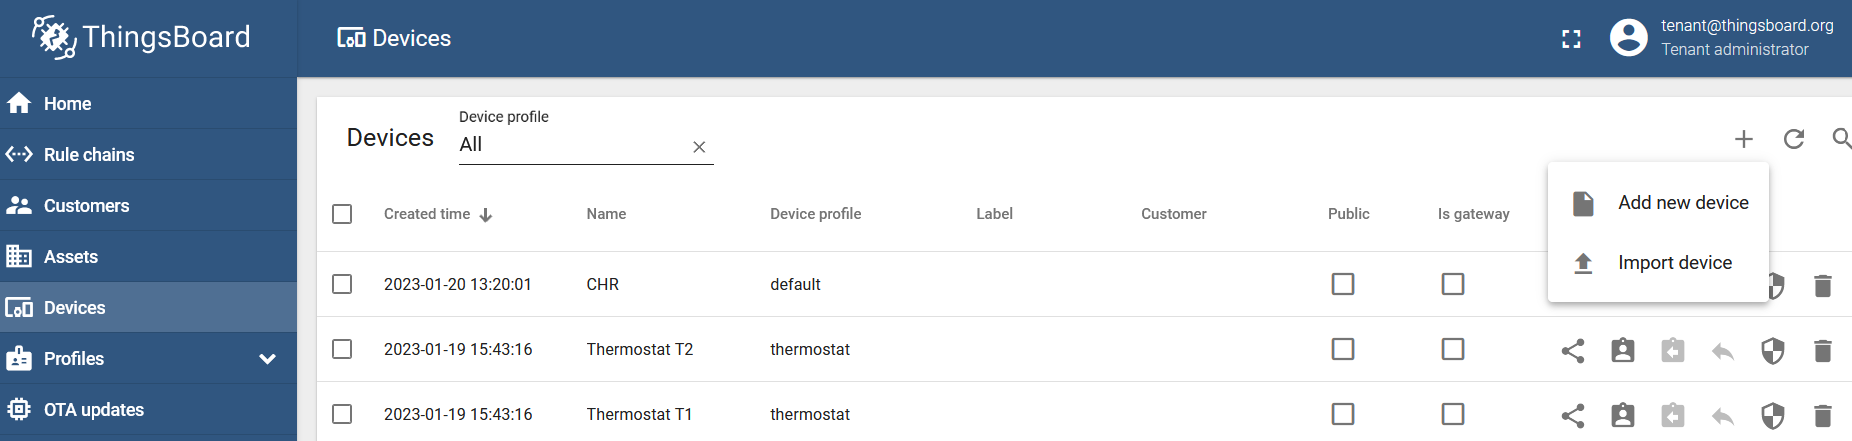
Log in with the tenant and create a new device. Go to the "Devices" menu, click on the "+" (Add Device) button and choose the "Add new device" option:
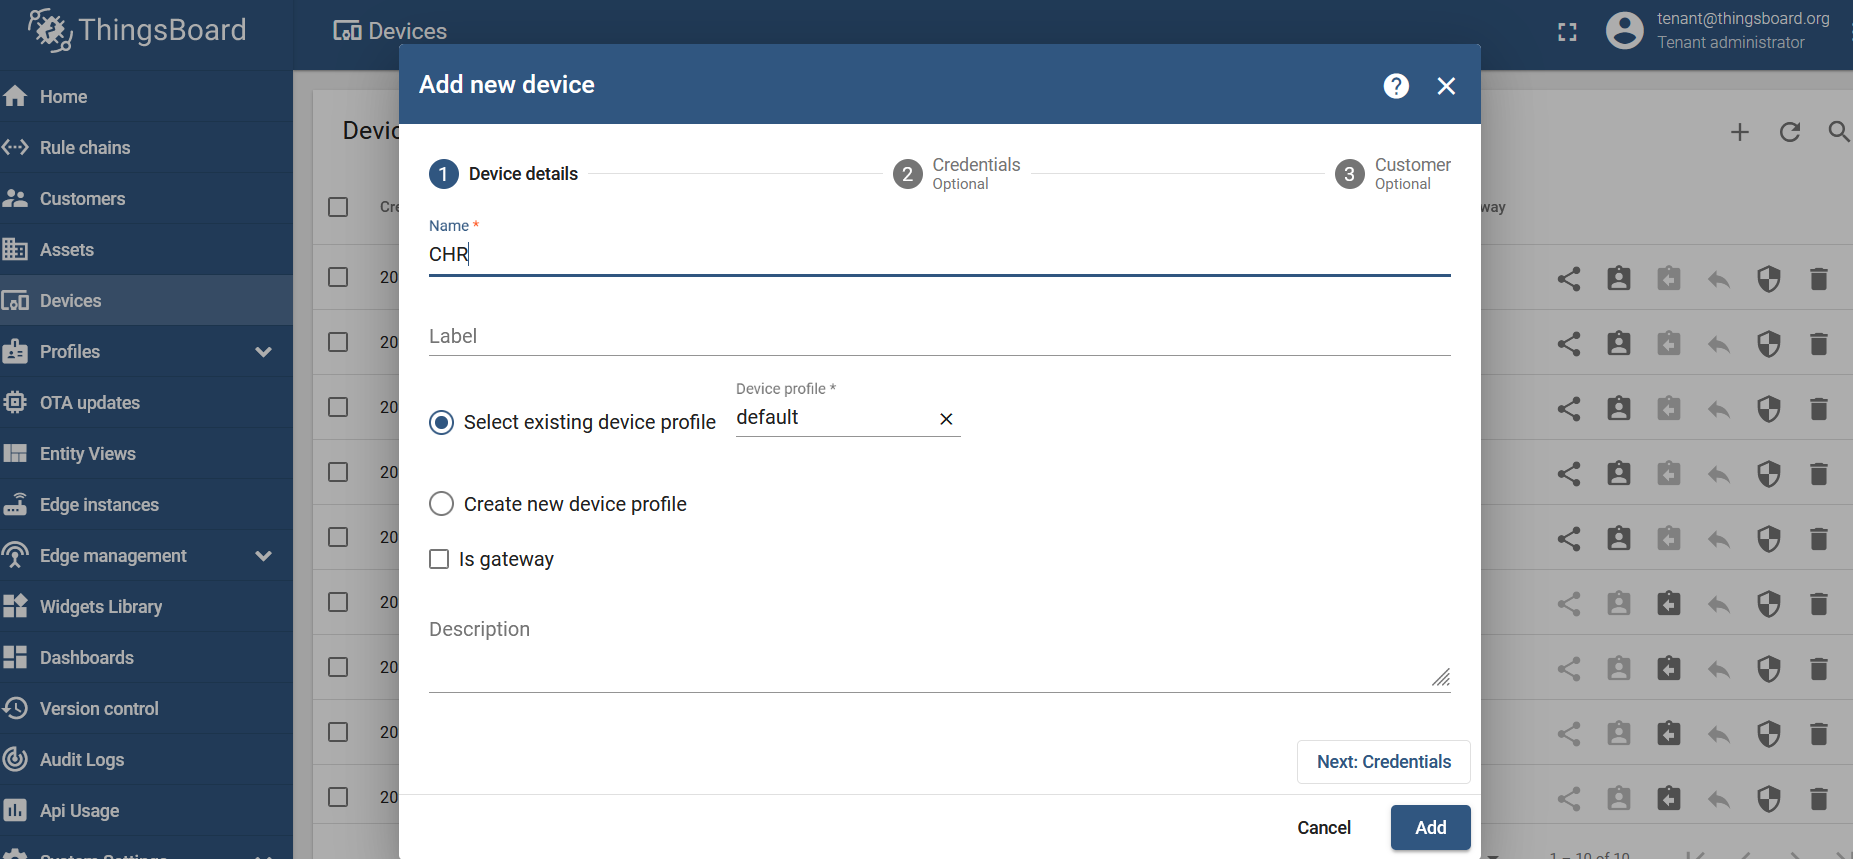
Name it, however, you like, and click on "Add":
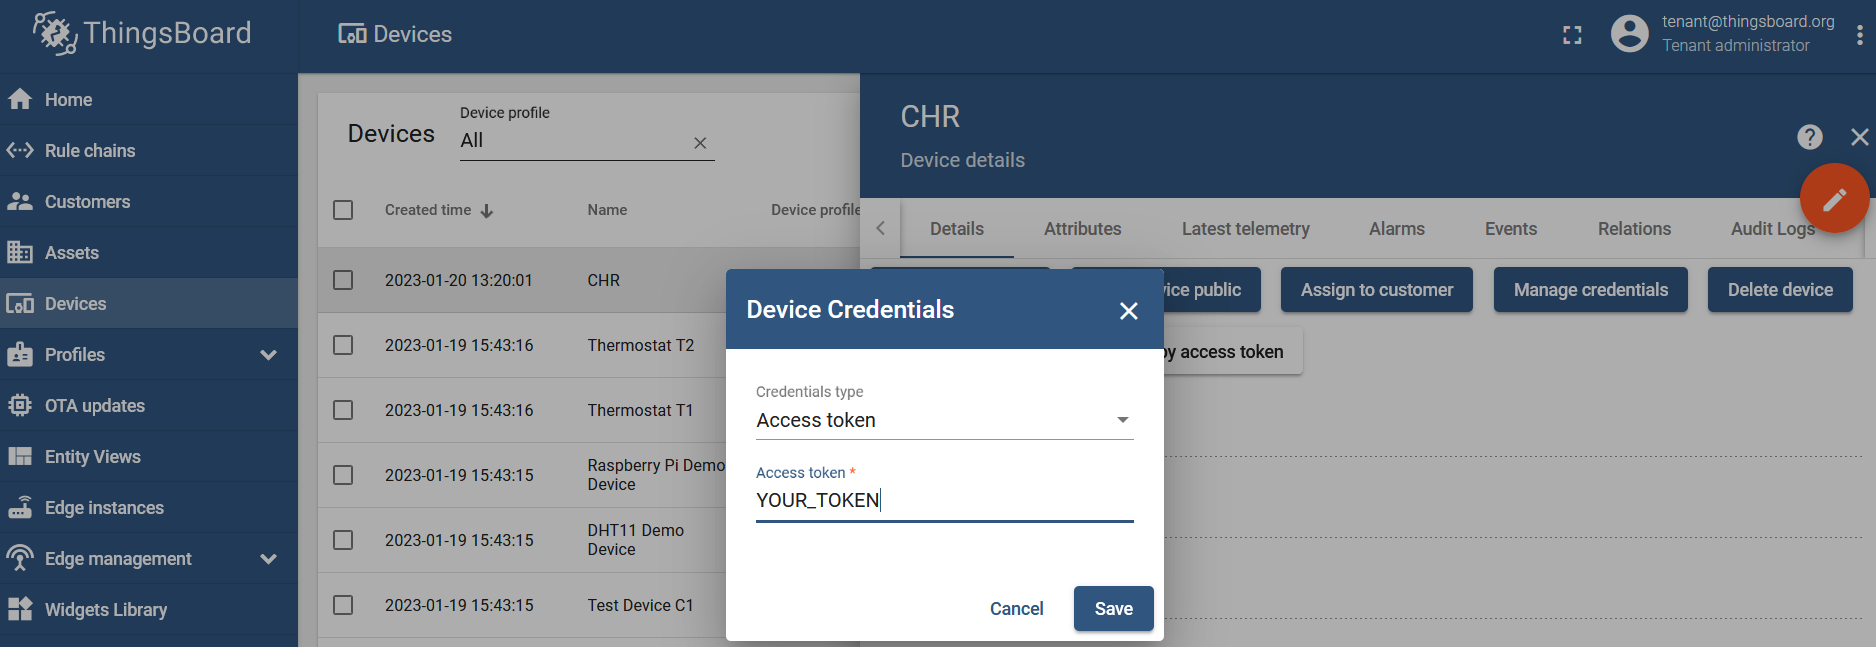
Check your device access token by clicking on the device you've just created and selecting the "Manage credentials" setting (copy the access token generated or type in your own → "YOUR_TOKEN"):
After these steps, go to the RouterOS settings (back to CHR settings) and create a new MQTT broker (make sure that you have IoT package installed because otherwise, you will not have this menu):
/iot/mqtt/brokers/add name=tb address=172.18.0.2 port=1883 username=YOUR_TOKEN
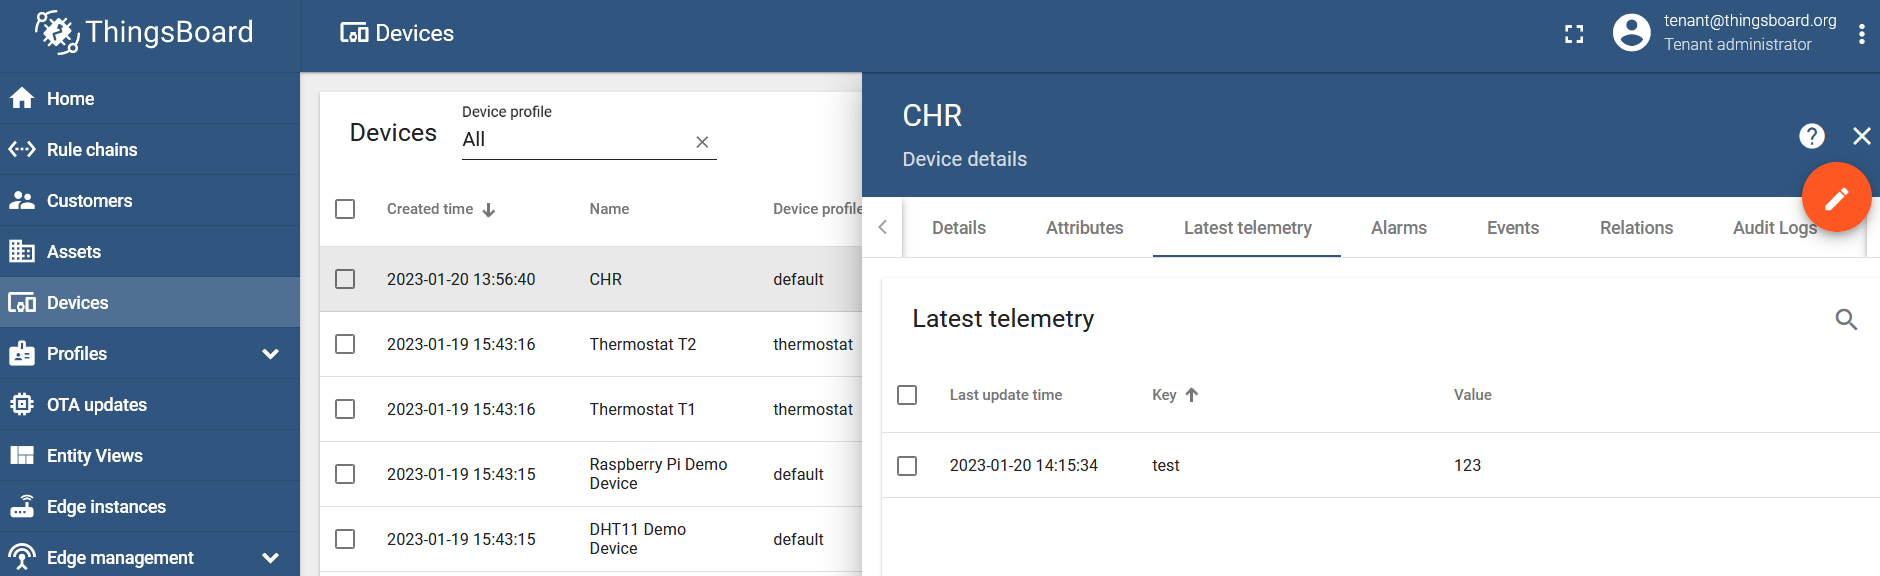
Publish a static test MQTT message in the JSON format:
/iot/mqtt/publish broker="tb" topic="v1/devices/me/telemetry" message="{\"test\":\"123\"}"
Confirm that the message was posted:
Enabling HTTPS and SSL MQTT
By default, basic HTTP and basic MQTT are used by the ThingsBoard instance from the go-go. As mentioned previously in the "Networking" section, working with non-SSL HTTP and non-SSL MQTT is not very safe (unless they are used within heavily protected networks with a well-configured firewall/restricted access) and we advise enabling HTTPS and SSL MQTT.
Please check ThingsBoard documentation for more information → HTTP over SSL and MQTT over SSL guides.