Introduction
Our Bluetooth tags and the KNOT can be used in different scenarios for IoT asset tracking.
The scenario we will be showing in this guide is receiving a notification on your phone as soon as the tag gets into the KNOT's Bluetooth range and as soon as the tag gets outside of the Bluetooth operating range.
That scenario can be achieved with the help of the IFTTT services. IFTTT will generate an URL for you. You can, then use /tool fetch from RouterOS, to post HTTP/web request to IFTTT generated URL and that will trigger APP notification to your phone.
Once the IFTTT service is set up and KNOT has been configured accordingly, you can attach the Bluetooth tag (TG-BT5-IN or OUT model) to any piece of equipment you wish to track.
Let's say, you attached the tag to an expensive piece of machinery or just ... your keys. Then, you install and position your KNOT so that the tag is within the KNOT's Bluetooth range. What is going to happen next and how is it going to work?
The KNOT is going to run a script on a schedule (with an interval that you choose). Based on the MAC address of the tag that was configured in the script → the script is going to check the latest received Bluetooth packet's time (the time when the latest packet was received). In case:
- the packet's time of reception is within 1 minute of /system clock time (for example, /system clock time is 16:02:00, and the tag's payload was received at 16:01:50) → a "TAG IS WITHIN RANGE" notification will be triggered, and sent to your phone.
- the packet's reception time is older than 1 minute of /system clock time (for example, /system clock time is 16:02:00, and the tag's payload was received at 16:00:50) → a "TAG IS NOT IN RANGE" notification will be triggered and send to your phone.
Because there is no other way to know whether the tag is actually within or outside of the operating range, the script uses the "time" parameter to confirm it. So when the payload's reception time is getting refreshed constantly → it means the tag is present and the KNOT receives the packets successfully. When 1 minute has passed since the last packet was received by the KNOT→ it means that the KNOT did not receive any updates from the tag for a whole minute and that confirms that the tag is not in range.
IFTTT setup
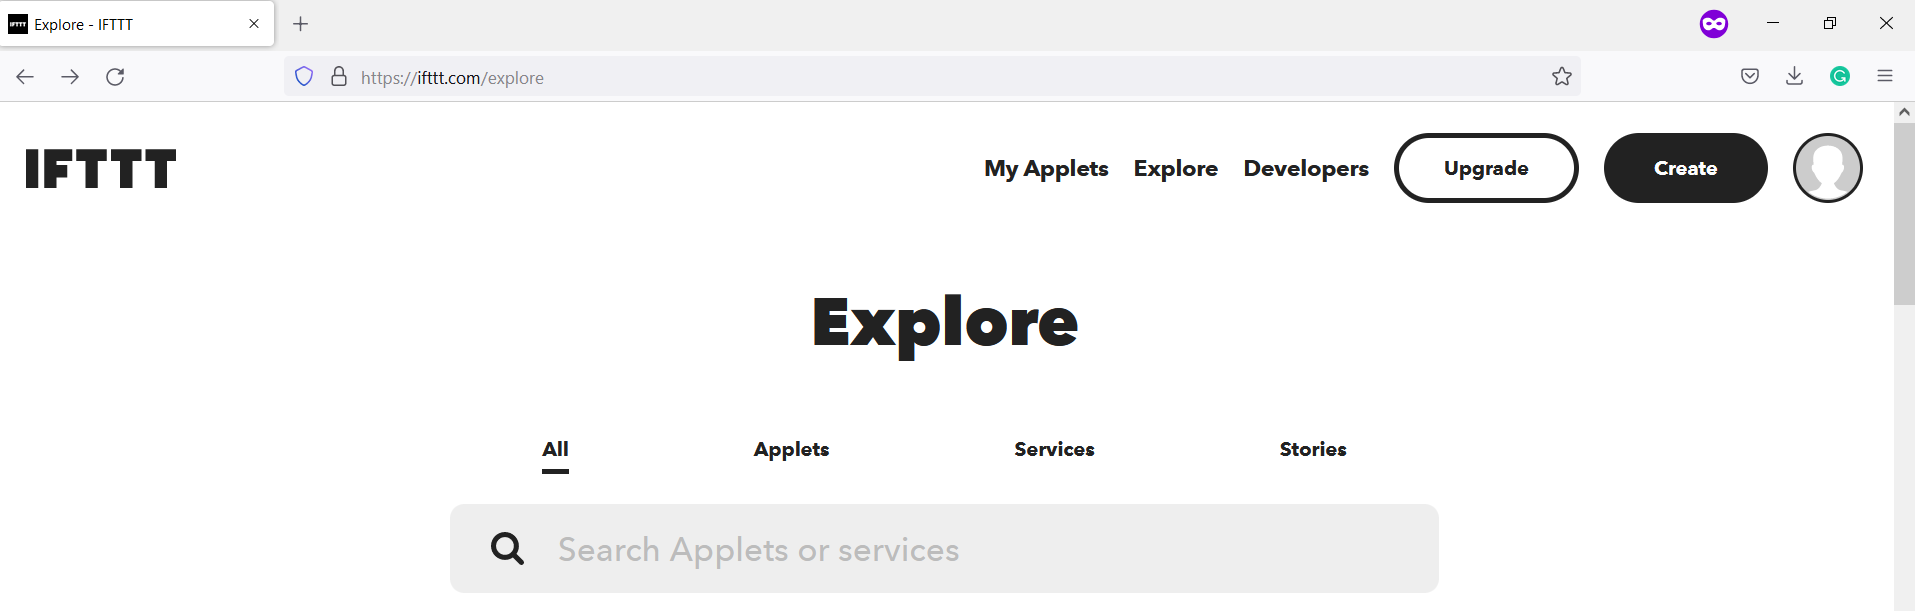
The first step is to register an IFTTT account or log in to an existing one following the link.
Download the IFTTT app for your phone and you can configure the follow-up steps either through the APP or through the browser.
After you are logged in, press the "Create" button in the right upper corner:
This will take you to the applet creation screen:
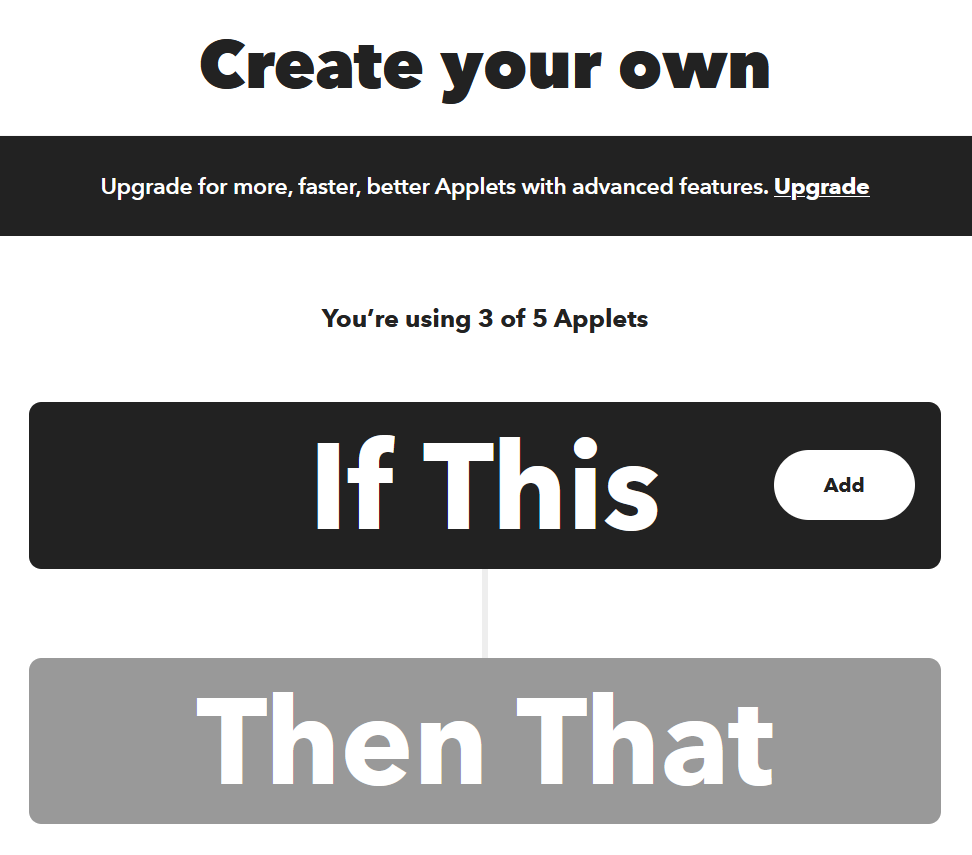
Select the "Add" button in the "If This" field. Choose a service called "Webhooks". Then, select an option called "Receive a web request".
Enter an "Event Name", for example, "{The_tag_IS_within_range}" and select "Create trigger". This will take you back to:
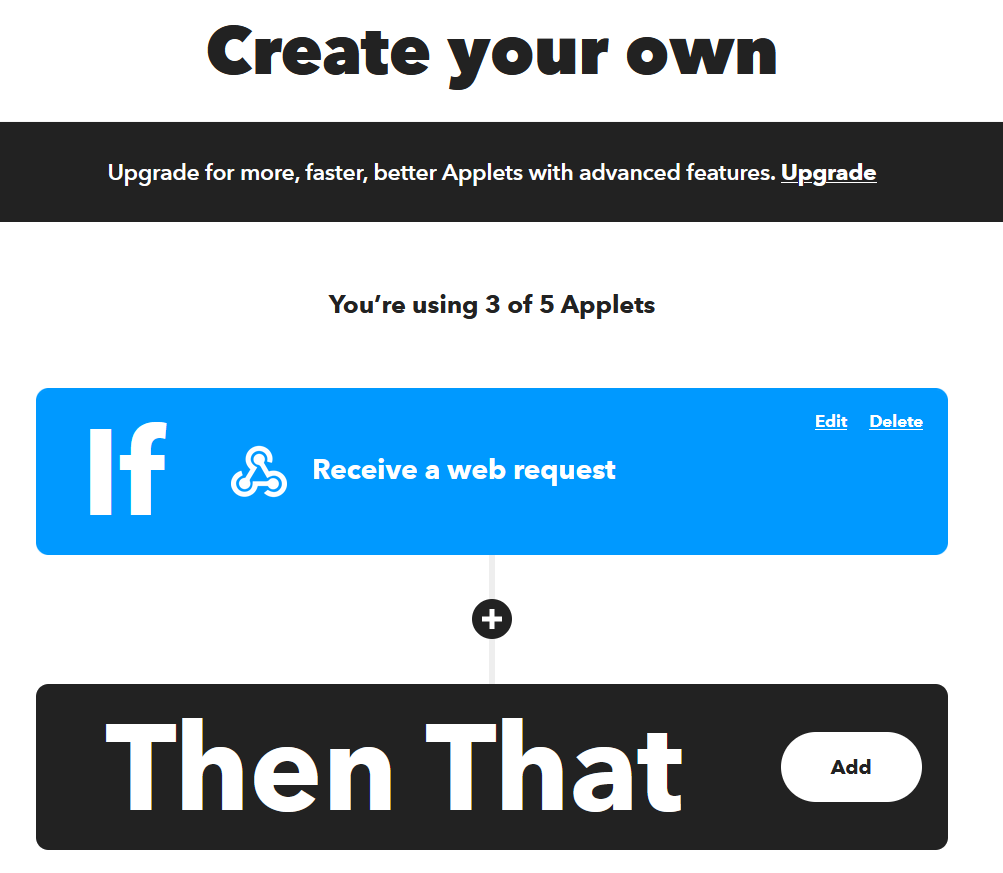
Select the "Add" button in the "Then That" field and find an action called "Notifications". Choose an option called "Send a notification from the IFTTT app" and confirm the decision by clicking on "Create Action".
Click on "Continue" and review the applet. Click on "Finish".
Now, do the same steps again to create a second applet, but for the second one, enter another "Event Name", for example, "{The_tag_is_NOT_in_range}".
Once you have two applets created → check the web request URL that was generated for you. Go to the link and click on the "Documentation" button:
The page will indicate the URL that you need to use:
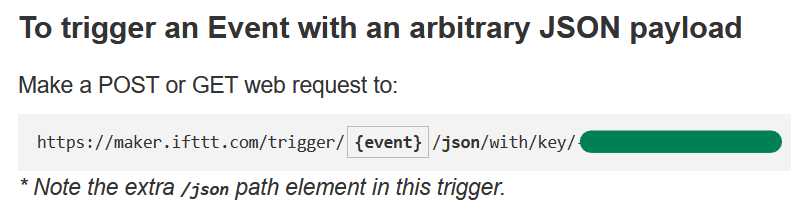
Copy this URL - you will need to use it in the script later.
Bluetooth tag configuration
Check our guide at:
MikroTik Beacon Manager for Android devices#Beaconsettings
for Android configuration, and:
MikroTik Beacon Manager for iOS devices#Advertismenetsettings
for iOS configuration.
In this specific use case, the KNOT is going to check the time of the received Bluetooth payload, so it does not matter which packet type is configured for the tag.
The only important setting is "Advertisement interval". Make sure that this parameter is configured.
Or you can just leave the tag in its default settings without changing anything.
RouterOS configuration
note: iot package is required. You can get it from our download page - under "Extra packages".
Make sure you have configured internet access so that the KNOT is able to reach IFTTT webhooks.
IoT>Bluetooth>Scanners
Navigate to IoT>Bluetooth>Scanners. Make sure to enable the scanner in case it is disabled and then, edit the scanner settings:
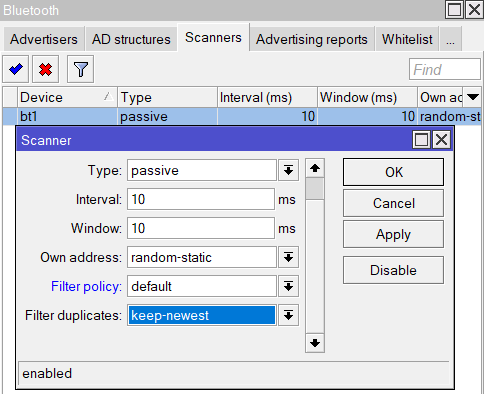
Select Filter duplicates=keep-newest.
The keep-newest setting will make sure that only the latest reports are kept under the "Advertising reports" section. A new packet captured by the scanner (for each individual MAC address) will overwrite an older packet.
System>Scripts
Navigate to System>Scripts menu and add a new script there.
You can copy the script below. Copy the script below into a "notepad" and copy it again into the script "Source:" field.
### User params
:local addressRegex "DC:2C:6E:91:D6:F3"
:local urlNotInRange "https://maker.ifttt.com/trigger/{The_tag_is_NOT_in_range}/json/with/key/-xxxx"
:local urlInRange "https://maker.ifttt.com/trigger/{The_tag_IS_within_range}/json/with/key/-xxxx"
:local missingInterval 60000###Time
:global EpochTime do={
:local ds [/system clock get date];
:local months;
:if ((([:pick $ds 9 11]-1)/4) != (([:pick $ds 9 11])/4)) do={
:set months {"an"=0;"eb"=31;"ar"=60;"pr"=91;"ay"=121;"un"=152;"ul"=182;"ug"=213;"ep"=244;"ct"=274;"ov"=305;"ec"=335};
} else={
:set months {"an"=0;"eb"=31;"ar"=59;"pr"=90;"ay"=120;"un"=151;"ul"=181;"ug"=212;"ep"=243;"ct"=273;"ov"=304;"dec"=334};
}
:set ds (([:pick $ds 9 11]*365)+(([:pick $ds 9 11]-1)/4)+($months->[:pick $ds 1 3])+[:pick $ds 4 6]);
:local ts [/system clock get time];
:set ts (([:pick $ts 0 2]*60*60)+([:pick $ts 3 5]*60)+[:pick $ts 6 8]);
:return ($ds*24*60*60 + $ts + 946684800 - [/system clock get gmt-offset]);
}:local Epomili
:set Epomili ([$EpochTime]."000")###Bluetooth
:local adver
:local adver2
:local ts
:local clockmin:set adver [/iot bluetooth scanners advertisements print detail as-value where address ~ $addressRegex]
:set adver2 ($adver->0)
:set ts ($adver2 -> "epoch")
:set clockmin ($Epomili-$missingInterval):local counterIN
:local counterOUT:if ($ts<=$clockmin) do={
:set $counterIN 0;
:if ($counterOUT=0 or $counterOUT=null) do={
:set $counterOUT 0;
/tool fetch http-method=get output=user url=$urlNotInRange;
:set counterOUT ($counterOUT+1);
:log info "IFTTT notification - the tag is OUT OF range!"
} else={
:log info "Tag is OUT of range! Notification was already sent before!"
}
} else={
:set $counterOUT 0;
:if ($counterIN=0 or $counterIN=null) do={
:set $counterIN 0;
/tool fetch http-method=get output=user url=$urlInRange;
:set $counterIN ($counterIN+1);
:log info "IFTTT notification - tag IS WITHIN range!"
} else={
:log info "Tag is WITHIN the range! Notification was already sent before!"
}
}
There are 3 lines that need to be taken into account (in the ### User parameters part of the script).
1) MAC address line:
:local addressRegex "DC:2C:6E:91:D6:F3"
the line above, where you need to input the MAC address of the tag (you can find the MAC address of the tag printed on the tag's label).
2) Not in range notification URL line:
:local urlNotInRange "https://maker.ifttt.com/trigger/{The_tag_is_NOT_in_range}/json/with/key/-xxxx"
the line, where you need to input the URL that was generated for you by the IFTTT service. The URL should look like this → https://maker.ifttt.com/trigger/{event}/json/with/key/-xxxxx". Change the {event} part of the URL to the "Event Name" that was chosen in the IFTTT portal when creating an applet and change the -xxxxx part of the URL to the key that was generated for you by the IFTTT portal.
3) In range notification URL line:
:local urlInRange "https://maker.ifttt.com/trigger/{The_tag_IS_within_range}/json/with/key/-xxxx"
the line, where you need to input the URL that was generated for you by the IFTTT service. The URL should look like this → https://maker.ifttt.com/trigger/{event}/json/with/key/-xxxxx". Change the {event} part of the URL to the second "Event Name" that was chosen in the IFTTT portal when creating your second applet and change the -xxxxx part of the URL to the key that was generated for you by the IFTTT portal.
Name the script, for example, ifttt and save it ("Apply" and "OK").
How is the script going to work?
We apply a scheduler to the script and the script will run with a set interval. Scheduler settings will be shown later in the guide.
The credit for the first part of the script goes to our forum users:
https://forum.mikrotik.com/viewtopic.php?t=75555
https://forum.mikrotik.com/viewtopic.php?t=75555#p790674
Because of the fact that, currently, we do not have a feature that allows you to convert current /system clock time into UNIX timestamp - epoch format, we need to use additional scripting to translate /system clock time into "epoch" time. The scripts created by our forum users can help with that.
The ###Time part of the script does exactly that, it takes /system clock time and calculates "epoch" time. When we have an "epoch" value for our current /system clock time, we can then subtract 1 minute from it. Having the "subtracted minute" epoch time value will help the script compare the packet's reception time against it to see whether the packet is 1+ minute(s) late or whether it is within a 1-minute interval of the current time.
In case the tag's moved out of range (the packet is older than 1 minute) → the KNOT will send an HTTP post to the IFTTT webhook (with the "Event Name" that it is outside of range) and System>Log that event.
In case the tag's payload is received and it is not older than 1 minute → the KNOT will send an HTTP post to the IFTTT webhook (with the "Event Name" that it is in the range) and System>Log that.
The "counter" parameter will make sure that you are not spammed notifications every time the script is run by the scheduler and that will make sure that you only receive x1 notification when the tag moves into the range and x1 notification when the tag moves out of range.
System>Scheduler
Navigate to the System>Scheduler and add a new scheduler there.
Name it, for example, scheduler1, and apply an interval with which you want the KNOT to check for the packet.
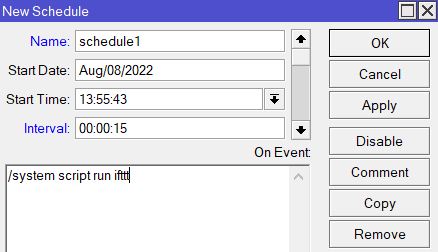
Add a line "/system script run ifttt" (where ifttt is the name of the script created) in the "On Event:" field, click on "Apply" and "OK".
Result verification
Make sure you are logged into the IFTTT app on your phone.
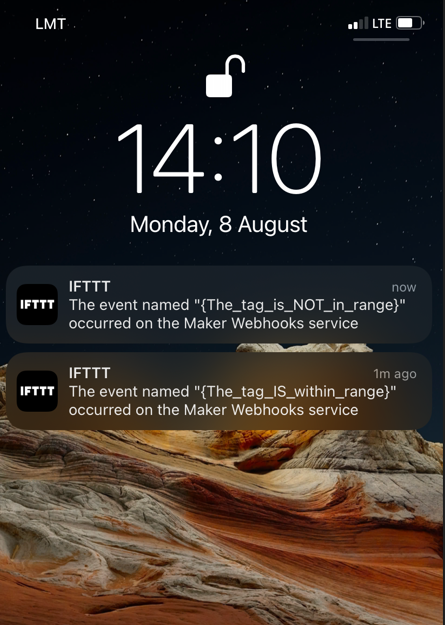
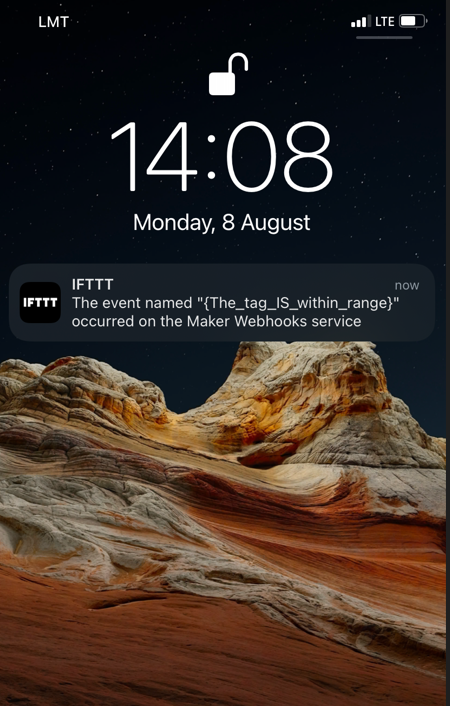
Position the tag within the KNOTs Bluetooth range and you should get a notification once the scheduler runs the script, like so:
Move the tag outside of KNOTs range (wait for 1 minute) and you will get another notification: