Overview
Sub-menu: /ip cloud
Packages required: routeros
RouterOS version required: v7.12 and newer
Hardware requirements: ARM/ARM64/TILE architecture devices
Back To Home is a convenience feature, that configures your device for secure VPN access from anywhere in the world to your router and your network, even if your router does not have a public IP address, is behind NAT or Firewall.
Configuration is done with MikroTik Back to Home app (Android, iPhone).
If the VPN server (your home router) has a public IP address, the VPN app will create a direct VPN connection between the phone and the router. However, if the router is not directly reachable from the internet, the connection will be made through the MikroTik relay servers. The connection is always end-to-end encrypted, the relay server or any other device does not have access to the encryption keys, in essence, the relay only helps your device to reach the router. The connection will appear as going out from your router, not from the relay. In case of going through relay, speed could be limited.
This feature is a convenient option to access your home network or view content available in your home country, from locations, where some content is not available. It is not meant for anonymity, it is for simple one click access to your home network. For more granular security controls, we recommend to manually configure and secure a VPN connection using the advanced RouterOS options.
Enabling BTH using the app
To set up Back to Home, you should have a smartphone with the BTH app and should be inside your home, connected to your routers WiFi network.
- Connect to router's Wi-Fi using your phone;
- Open the Back to Home application (Android, iPhone);
- Tap "Create new";
- Enter your local router IP address (most likely 192.168.88.1), username, and password of your router, tap "Connect";
- Give tunnel a name, then tap"Create tunnel";
- Your phone will ask for permission to add new VPN settings, approve it with your phone pin;
- Setup is done. You can now disconnect from router's Wi-Fi and connect to any other network, like LTE/5G or simply leave your house now;
- Tap the Connect button to toggle connection of the selected tunnel.
|
|
|
|
|
|---|---|---|---|---|
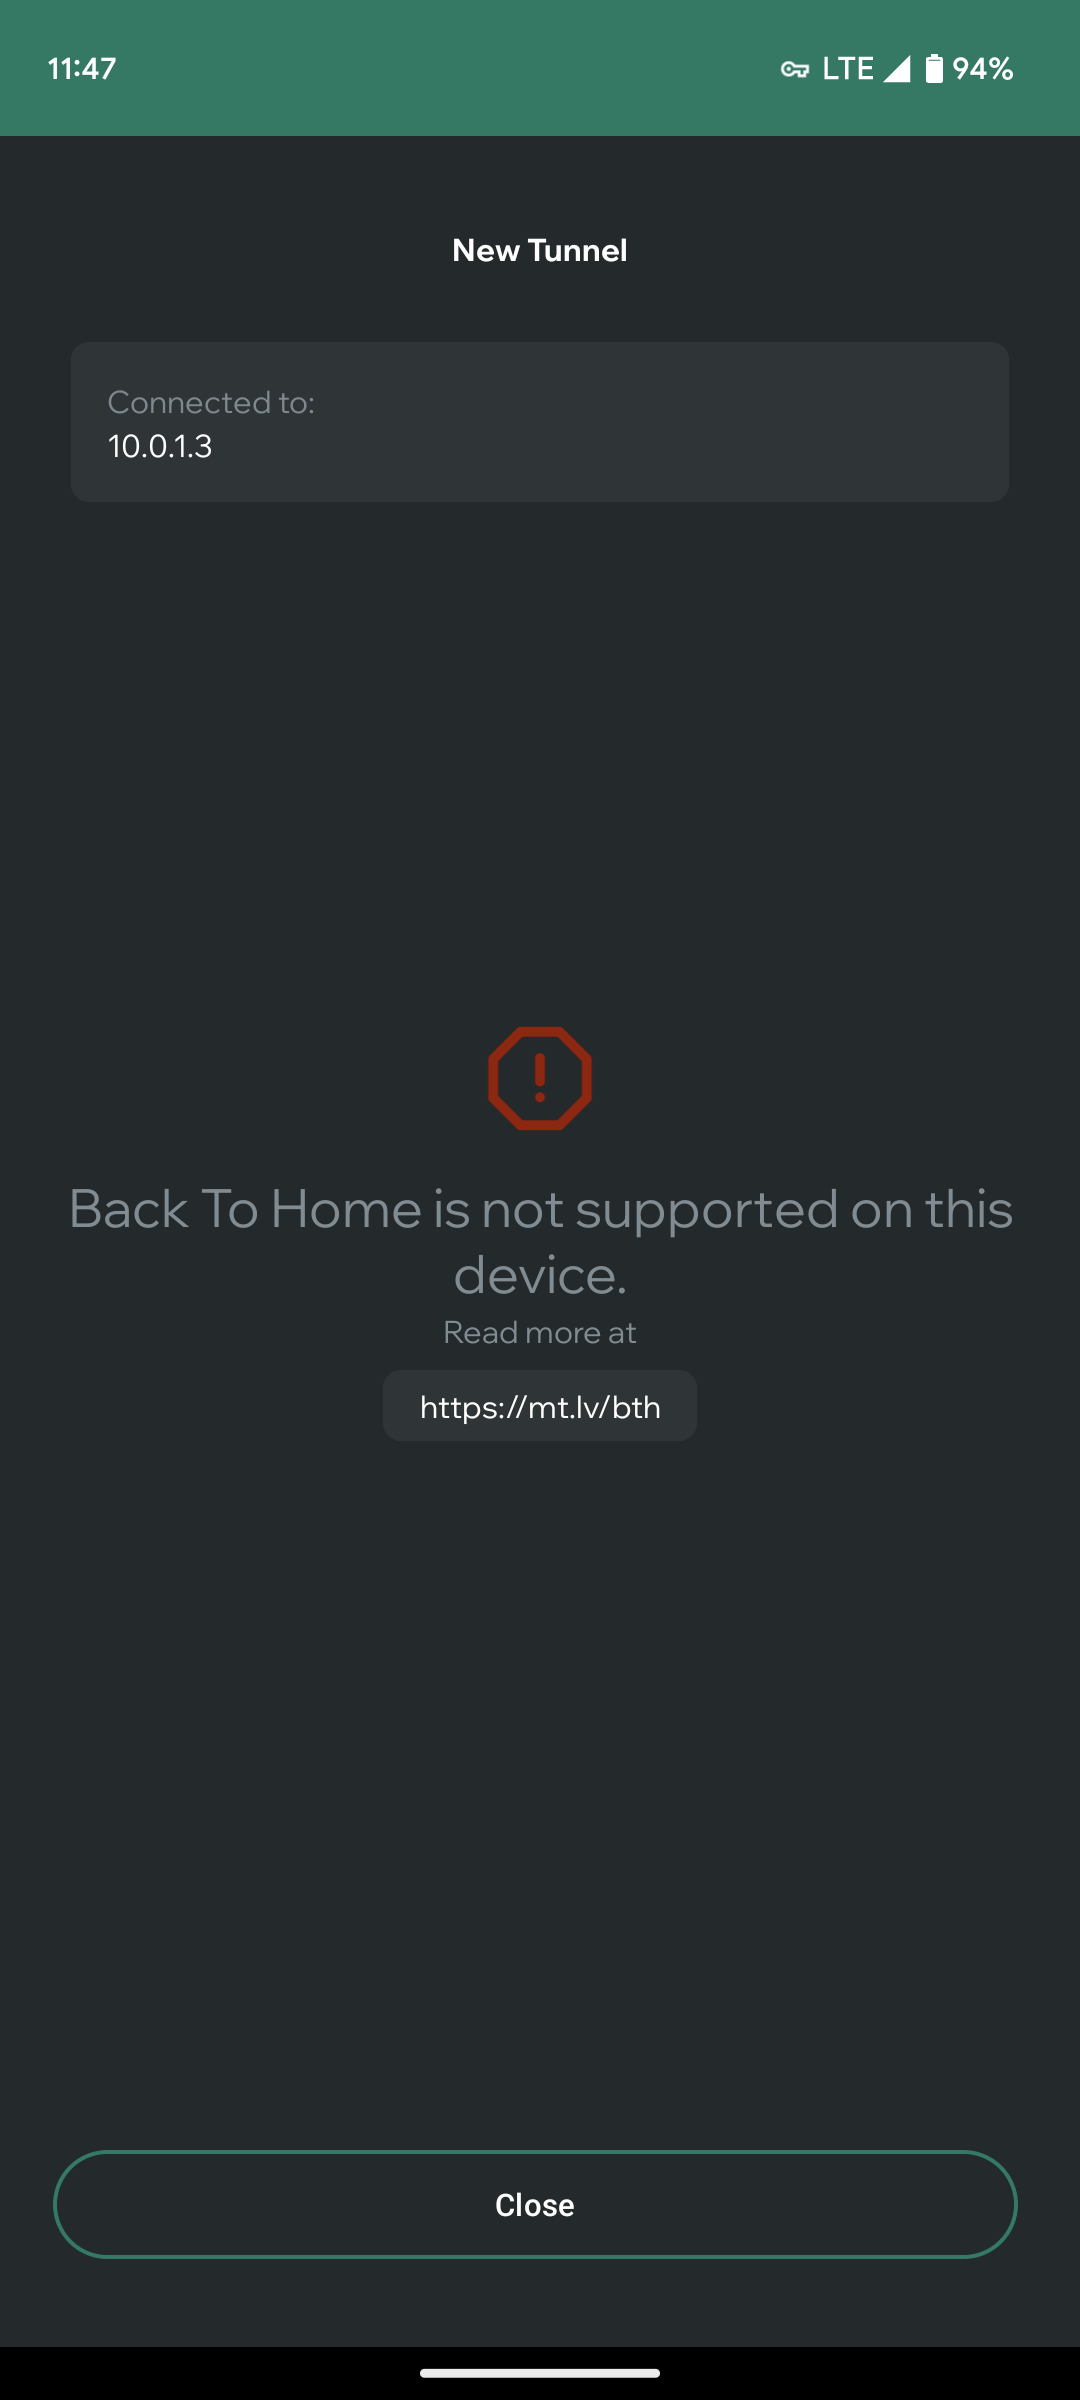
Tap "Create new" | Provide your router credentials | Connection established | Allow VPN to be added | If device is not supported, error is shown |


Sharing the BTH connection with another phone user
It is possible to create Guest tunnels for your friends and family. You can even specify if you want these people to access your local network as well, or if they should be restricted to only use the internet via your router. Once you create shared tunnels, you can send Invitation links via any chat application in your phone, or show a QR code to your friend in person (in both these cases, the friend will have to also install the BTH app). If you want to connect to your router via the WireGuard(TM) app from another phone or from a computer, it is possible as well. Just select the share WireGuard(TM) config file, and open this file in the WireGuard(TM) app.
 |
|
|
|
|
|
|---|---|---|---|---|---|
| Manage shares | Connect to your tunnel first | Once connected, Create shares | Provide a name and access level | Share sheet opens | Send the invite link via WhatsApp, Signal etc. |


To share your tunnel with somebody:
- As the owner, connect to your BTH tunnel
- Click the "..." icon next to your tunnel and click "Manage shares"
- Enter the administration password for the router, since you will be modifying the router config
- Tap "Create" in the Shares manager
- Enter your friends name in the "Tunnel name", since a new tunnel will be made for them
- Specify expiry date of this new Guest tunnel
- Specify if the user will need to access your intenal network of your home. Do not check this if they only want to use this tunnel for internet access
- Once "Create tunnel" has been pressed, phone Share Sheet opens. Select method how to send the invite link
- Once the other person clicks on this link, he will either be directed to install the BTH app, or the BTH app will open and will allow to set up this new Guest tunnel in their phone
Sharing the BTH tunnel with a computer via the WireGuard(TM) app
Since there is no BTH app for PCs, you can use WireGuard(TM) app to connect to the shared tunnel. You can even share your connection with yourself, by "inviting" your computer to connect.
Let's make a new share, this time for yourself, for using from the PC.
|
|
|  |
|
|
|---|---|---|---|---|---|
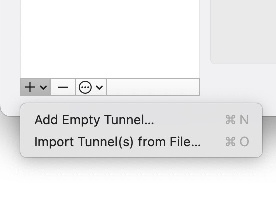
| Create | Specify name and access level | You have two shares now | Click "..." to send invite | Pick "Share WireGuard config file" | AirDrop to your macOS or e-mail the file |


Install the WireGuard app in your computer and click "Import Tunnel from file"
Configuring BTH manually in RouterOS (optional, if no smartphone is available to you)
Important notice
It is important to note, NOTHING has to be configured in RouterOS to use Back to Home. Simply use the BTH app (see above section) to enable it. The whole point of Back to Home is to avoid using Winbox or command line. Below instructions are only for debugging or seasoned administrators.
- Connect to router
- Enable DDNS Cloud service: `
/ip/cloud/set ddns-enabled=yes` - Enable Back To Home: `
/ip/cloud/set back-to-home-vpn=enabled` - Print tunnel configuration: `
/ip/cloud/print` - Scan QR Code (`
vpn-wireguard-client-config-qrcode`) or Copy config (`vpn-wireguard-client-config`) and enter in preferred WireGuard® client. Only one client at a time will be available to use this config.After configuring Back To Home - an additional peer entry is automatically made, which can be seen by running the command /ip cloud print. This is intended for the VPN to work in the case that the device does not have access to a public IP address and opts to establish the connection by using MikroTIk's relay server.
In the case your device has access to a public IP address, the generated peer entry is ignored:[Peer] PublicKey = //////////////////////////////////////////8= AllowedIPs = 0.0.0.0/32 Endpoint = example.com:12345 PersistentKeepalive = 15
Removing and disabling connections
In the smartphone app, the VPN configuration is added to the System VPN settings. In this regard, the Back to Home app only acts as a wizard. It supplies needed config to the operating system (this is why iPhone will warn you about altering system configuration).
To remove the created connection, go into the smartphone settings app and remove the VPN connections from there.
In the MikroTik router side, you should manually delete the added Peers in the Wireguard menu. Note that "revoke-and-disable" button can't be used to "Pause" the use of the Back to Home feature. Once you revoke-and-disable in RouterOS, all Peers will be disassociated from the Cloud / Relay servers, and you will have to re-create the connection from the Smartphone app. Therefore, once you have used the option "revoke-and-disable" in RouterOS IP Cloud menu, you need to also delete the Peers from the Wireguard menu, as they can't be re-used.
Property reference
IP Cloud
Sub-menu: /ip/cloud/
Back to Home shares the menu with IP Cloud. Back to Home parameters:
| Property | Description |
|---|---|
| back-to-home-vpn (enabled | revoked-and-disabled; Default: revoked-and-disabled) | Enables or revokes and disables the Back to Home service. ddns-enabled has to be set to yes, for BTH to function. |
| vpn-dns-name (read-only: string) | Shows the DNS name assigned to the device. Name consists of product serial number appended by .vpn.mynetname.net. This field is visible only after at least one ddns-request is successfully completed. |
| vpn-port (read-only: integer) | Port used by BTH VPN. |
| vpn-status (read-only: string) | Contains text string that describes the current BTH state. |
| vpn-relay-rtts (read-only; "region (ip4: time(ms), ip6: time (ms)") | Round trip time in milliseconds for each available relay, values are shown both for IPv4 and IPv6. |
| vpn-relay-ipv4-status (read-only: string) | Status on connection to relay and detailed information about relay |
| vpn-relay-ipv6-status (read-only: string) | Status on connection to relay and detailed information about relay |
| vpn-relay-codes (read-only: string) | Available VPN relay codes, which can be referenced in vpn-prefer-relay-code. All available relays will be shown here. |
| vpn-relay-addressess (read-only: string) | IPv4 address of the relay |
| vpn-relay-addressess-ipv6 (read-only: string) | IPv6 address of the relay |
| vpn-private-key (read-only: string) sensitive | Private key for BTH |
| vpn-public-key (read-only: string) | Public key for BTH |
| vpn-peer-private-key (read-only: string) sensitive | Peer private key |
| vpn-peer-public-key (read-only: string) | Peer public key |
| vpn-prefer-relay-code (string;) | You can enter relay code that will be preferred for BTH connection, if not set, relay with smallest RTT will be chosen. |
| vpn-interface (read-only: string) | Name of the created interface for Back to Home WireGuard® tunnel. |
| vpn-wireguard-client-config (read-only: string) | Configuration that can be entered in your preferred WireGuard® client. Only one client at a time will be available to use this config. |
| vpn-wireguard-client-config-qrcode (read-only) | Scannable QR Code for your preferred WireGuard® client. Only one client at a time will be available to use this config. |
When using vpn-wireguard-client-config or vpn-wireguard-client-config-qrcode, both options are equal, you only need to import one of these into your WireGuard client device.
Back to Home users
Sub-menu: /ip/cloud/back-to-home-users/
Since RouterOS 7.14 there is a new back to home specific user manager available in the menu /ip/cloud/back-to-home-users> where you can see all the users that are added by the Back to Home mobile app, change their firewall preference and also add new ones.
[boss@mikrotik-ax] /ip/cloud/back-to-home-users> print detail
Flags: X - disabled; A - active

 0  A name="user1" slot=3 expires=never client-address=192.168.216.3/32,fc00:0:0:216::3/128 allow-lan=no
      private-key="OHqR2BZXJp0N6//3JzzoJhBJVb0rrSxV0dxQL/2UdXY=" public-key="Na7oEq9XLdeK8ouCUX+tC4FIM51vEnZ7mLiFqG9xiUQ="

[boss@mikrotik-ax] /ip/cloud/back-to-home-users>
When adding users in this menu, you can view their Wireguard config and QR code with this command /interface/wireguard/peers/show-client-config user1
Allow-lan=no will add the users into a firewall address list, that only allows internet access, but blocks the user from accessing your internal network. Note that expiry date can't be changed, once a user has been added.
| Property | Description |
|---|---|
| name (string) | Informative name of BTH user |
expires (string; never | date: "YYYY-MM-DD HH:MM:SS"; Default: never) | Expiration time and date for user, cannot be changed once user is created |
| client-addresss (string: IPv4 | IPv6) | Client address, if not specified one will be made automatically |
| allow-lan (string: yes | no; Default: no) | Will add the user into a firewall address list, that only allows internet access, but blocks the user from accessing your internal network |
| private-key (string;) sensitive | Private key for user, if not set manually, it will be generated by the system |
| public-key (string;) | Public key for user, if not set manually, it will be generated by the system |