...
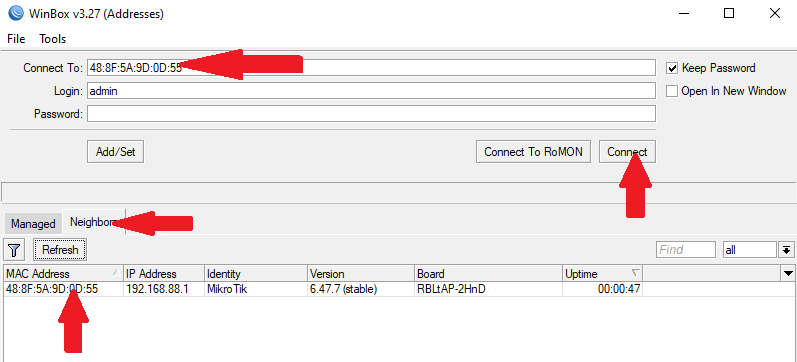
LtAP LTE kit will be used as example in this guidesection.
Open your routers case. Once you have removed all the screws carefully move the upper case to the left side, as the LTE antennas are attached to the inner side of it.
...
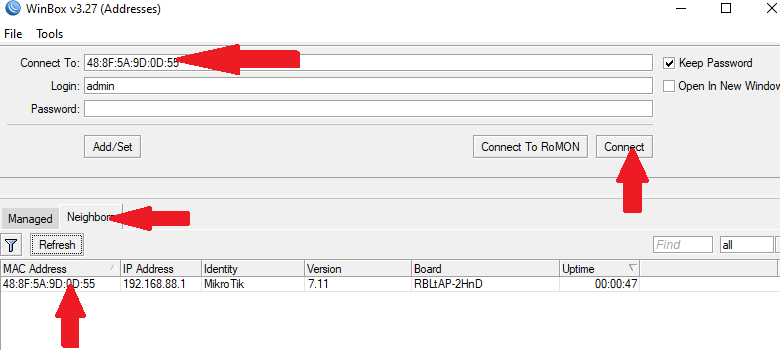
It is Highly recommended to upgrade your RouterOS version to the latest available. Installing the version will perform a reboot.:


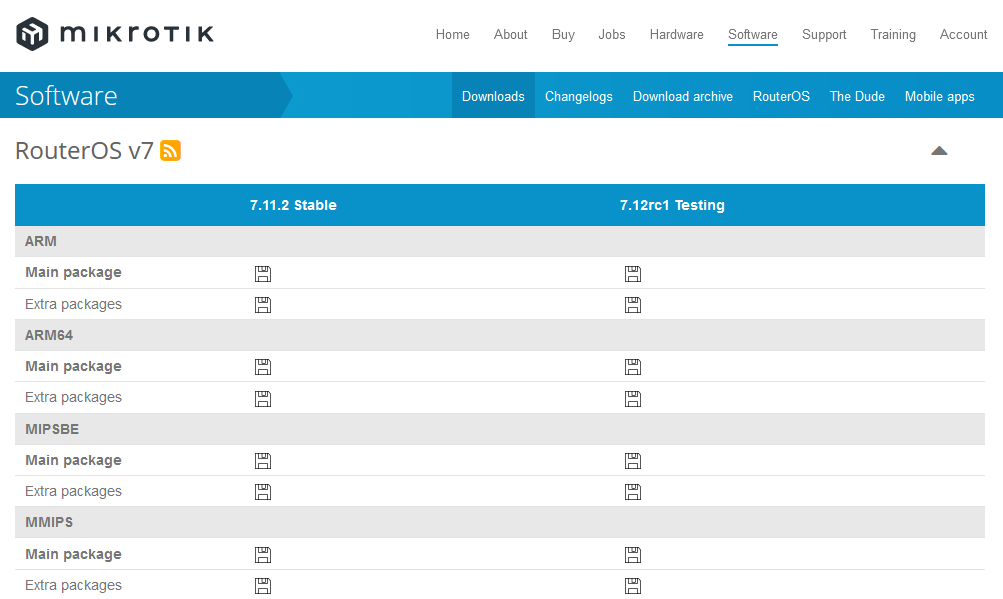
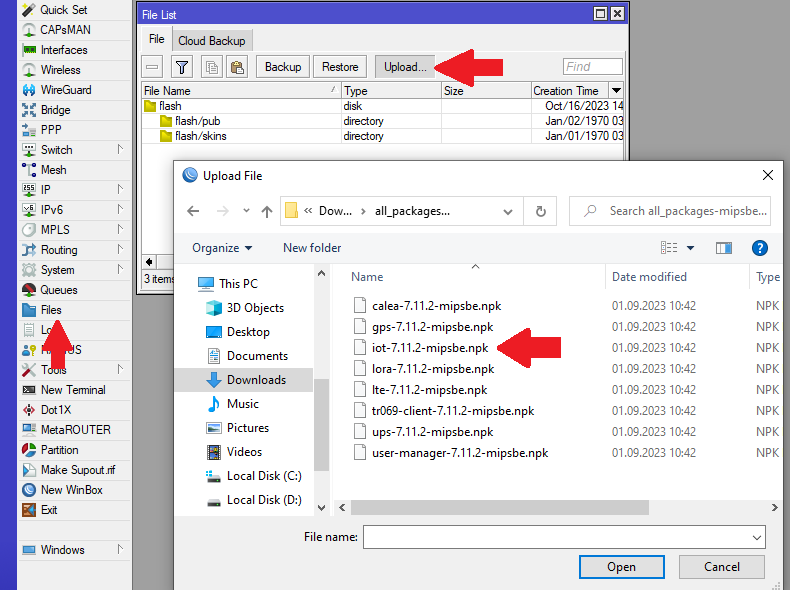
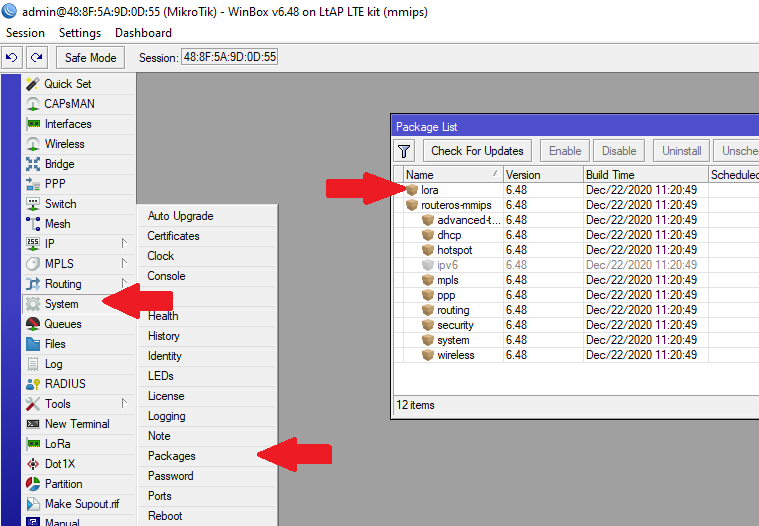
If your device does not have IoT>LoRa menu, download "Extra packages" Download extra packages specifically for your routers architecture and rOS version. You can see the type of your routers architecture at the top of Winbox window or in System → Resources → Architecture Name.

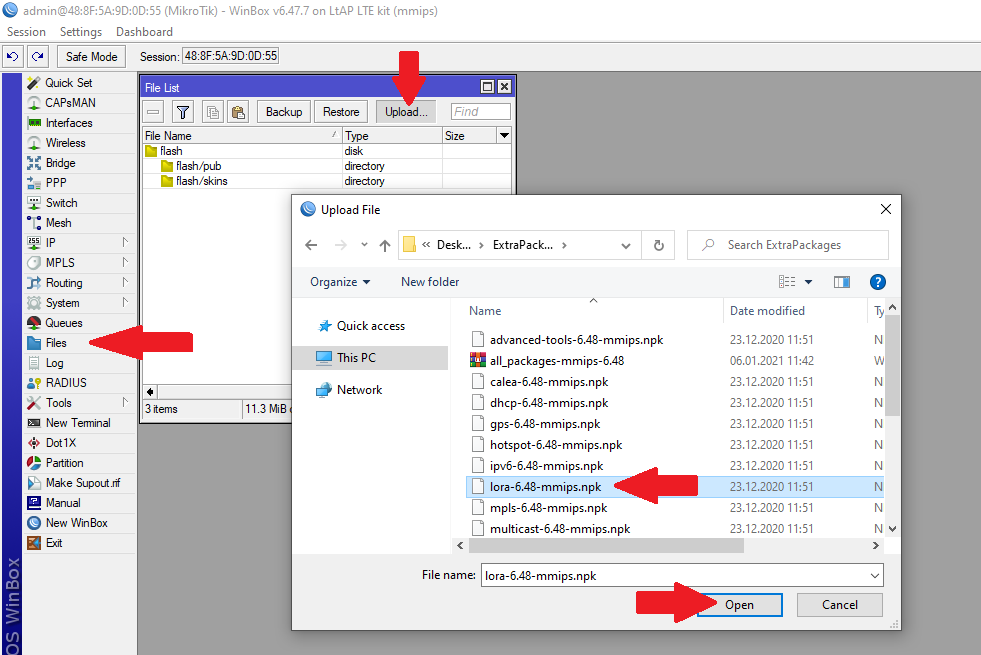
Once the package is downloaded and extracted, upload the LoRa IoT package to your router. It can be done via drag & drop as well. It should appear in the files folder after the upload is complete, reboot your router (System → Reboot) to install the package.:
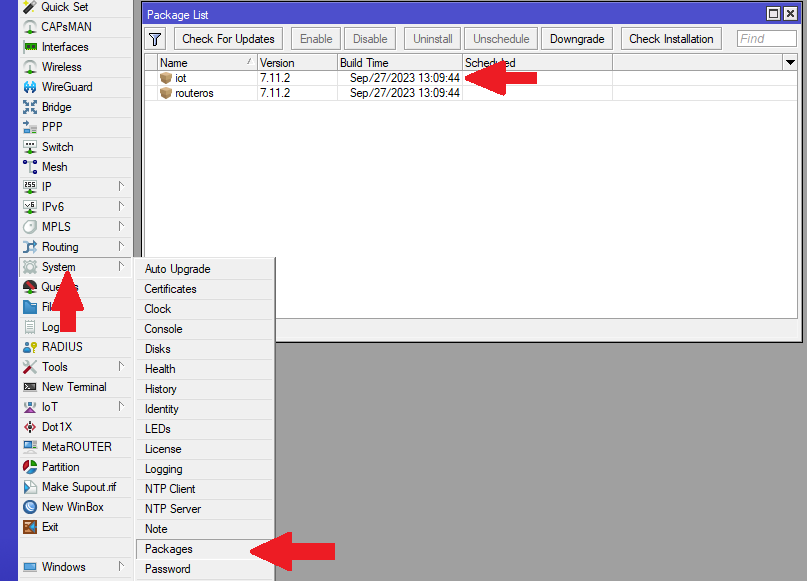
After the reboot, the package should be visible in the Package list:
Check if the LoRa gateway has initialized , If not, check if the USB Type is set under IoT>LoRa>Devices. If it is LtAP model, make sure to set USB Type to Mini-PCIe:

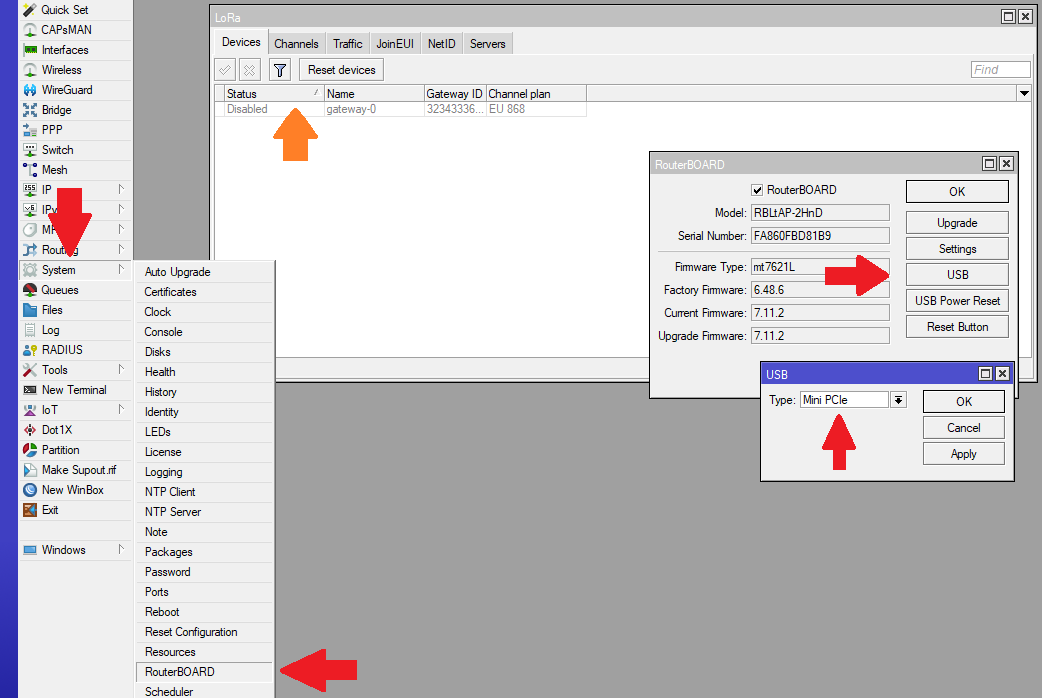
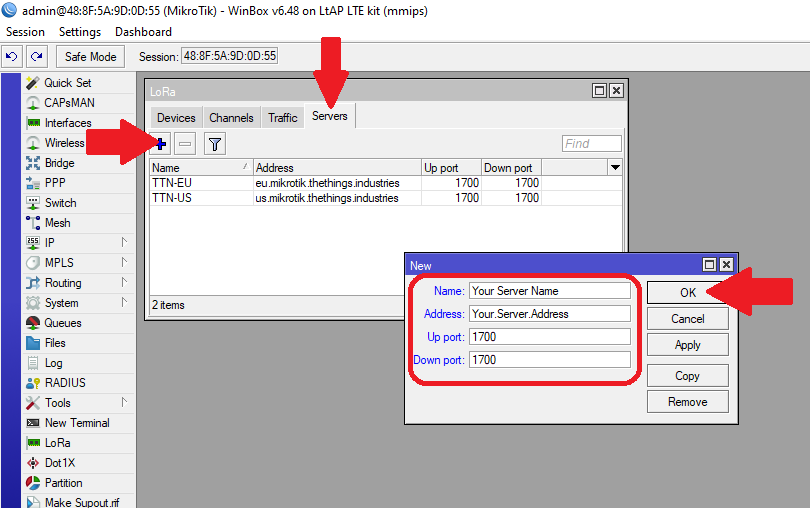
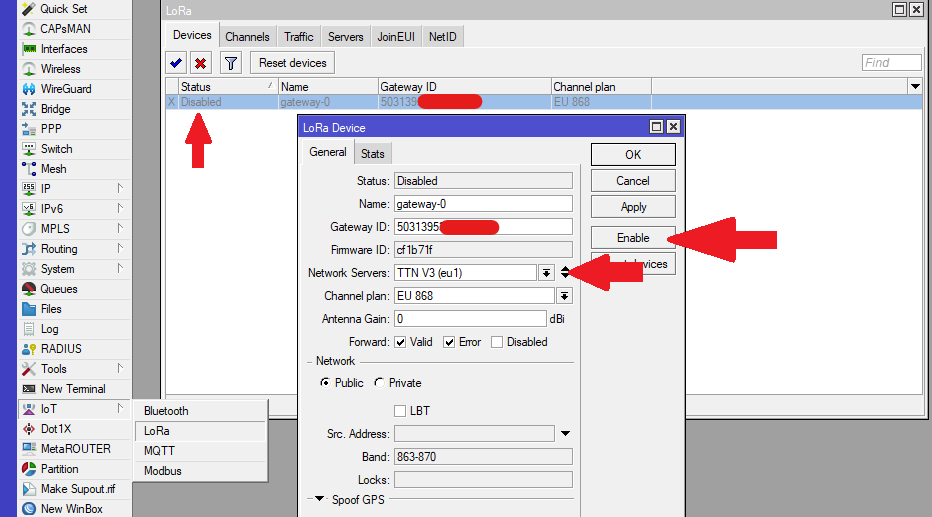
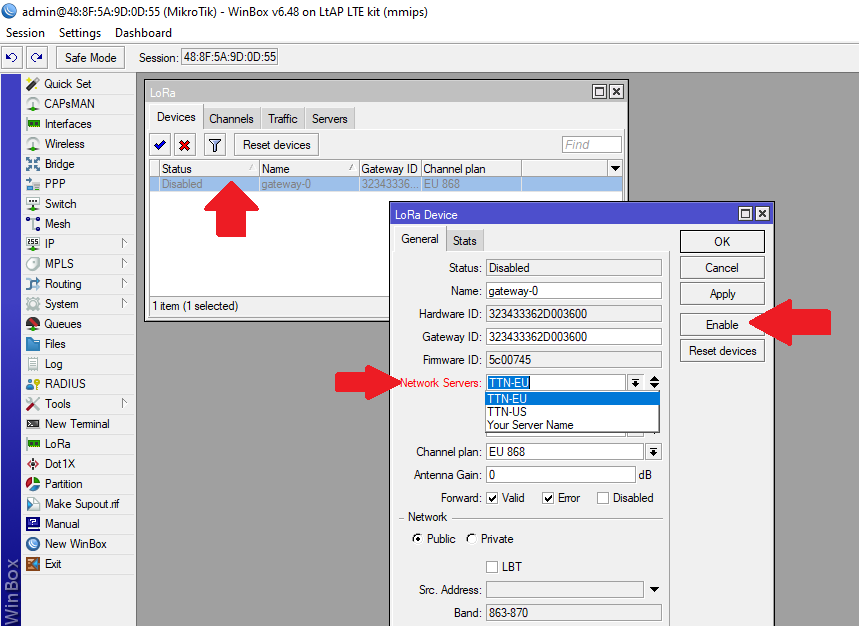
Once the gateway has shown up , (under IoT>LoRa>Devices) select it, choose Network Servers from the default ones or add your own (under IoT>LoRa>Servers) and enable it:
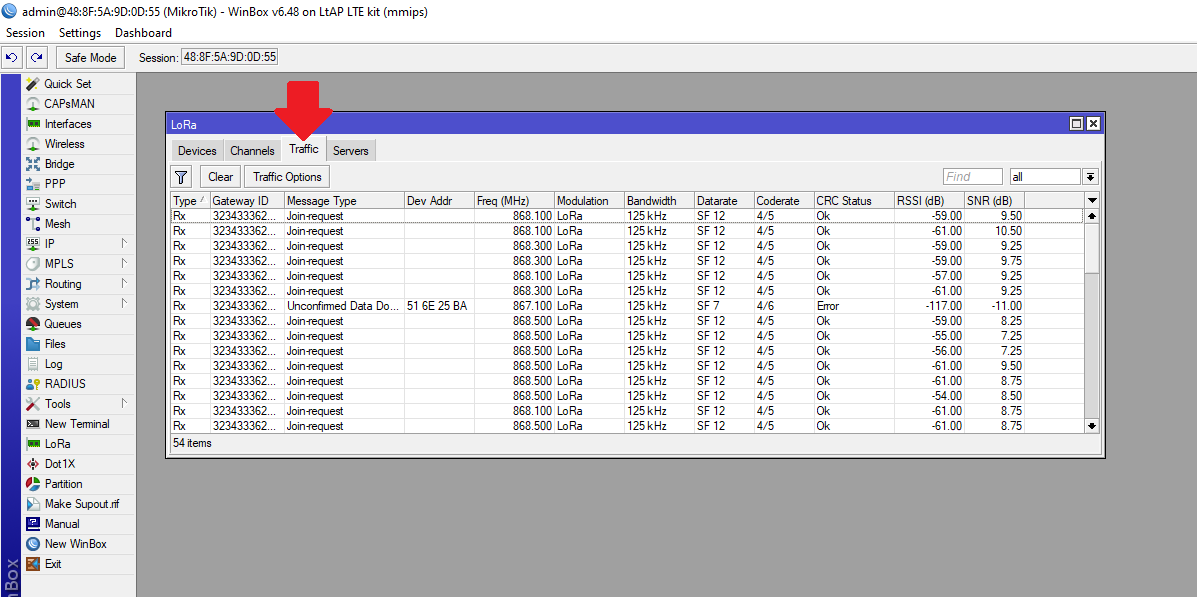
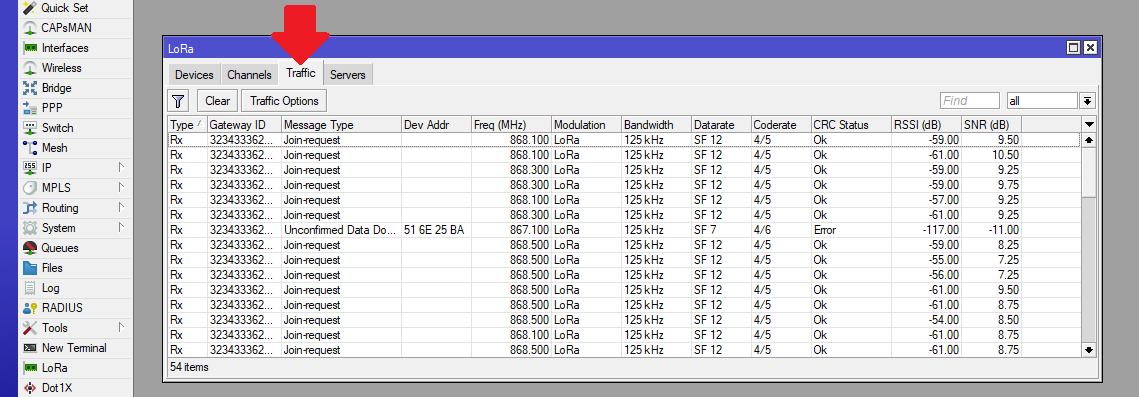
Navigate to Traffic tab to monitor the surrounding nodes sending requests.:
This concludes basic installation and configuration of LoRa mini-PCIe cards. For additional settings check: General Properties