...
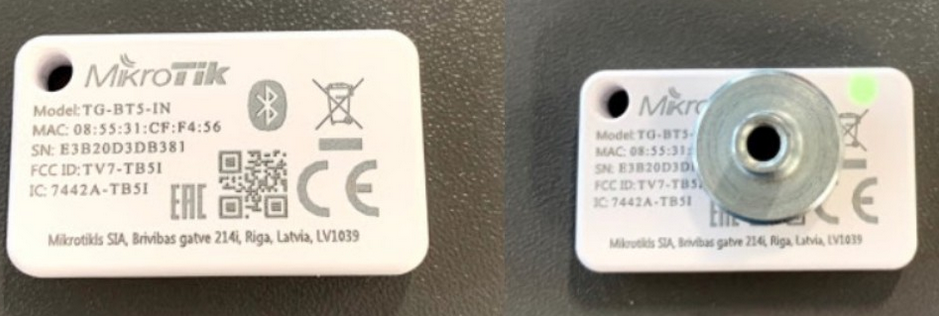
TG-BT5-IN is a new addition to our MikroTik equipment. It is a Bluetooth tag (a very small gadget) that can be attached to other equipment or other belonging. Bluetooth tags play a big role in IoT topologies, where Bluetooth is used to broadcast the data over short distances. Once installed and configured, the tag will broadcast advertising packets in iBeacon, Eddystone, or Mikrotik telemetry (default packet format) to the gateway (for example, KNOT). Gateway, on the other hand, pushes the advertising packet payload to the remote server utilizing MQTT or HTTP protocols.
Initial steps
In order to configure the MikroTik Bluetooth tag, you have to set it into configuration mode.
This can be done by putting a magnet (any magnet - strong or weak) to the Bluetooth logo. You will see a green LED shining through the case. When the LED goes off (approx. 10 seconds), the tag will be set to configuration mode and should be reachable from our mobile app.
Tag modes
When the product arrives from manufacturing it is set into factory sleep modeFactory sleep mode is a default mode that the device uses. In this mode, all components are shut-down as much as possible and MCU is put into the deepest possible sleep state. The current draw is reduced to a minimum, so this is the preferred mode to use when the tag is not used to maximize battery lifestored and/or not in use. To exit this mode a reed switch is used. If it’s active put a magnet to the tag's edge (where the switch icon is) and hold it for 3-10 seconds until LED turns off. After that, the factory tags exits sleep mode will be deactivated and MCU will enter Advertising and enters advertising mode.
In advertising the Advertising mode, the tag will broadcast information about itself in Bluetooth advertising packets. By default, MikroTik's advertisement is packets are sent once every 5 seconds. This can be changed in the Configuration mode.
Configuration mode can only be entered only from advertising mode by applying a magnetic field magnet to the same reed switch that was used for switch icon as in the exiting factory sleep . When the reed switch is active procedure. After applying a magnet for 5-10 seconds LED will turn off and the tag enters configuration mode will be entered. Otherwise, MCU . If you apply a magnet for longer than 15 seconds or won't connect to the tag with the configuration app, it will go back into advertising mode.
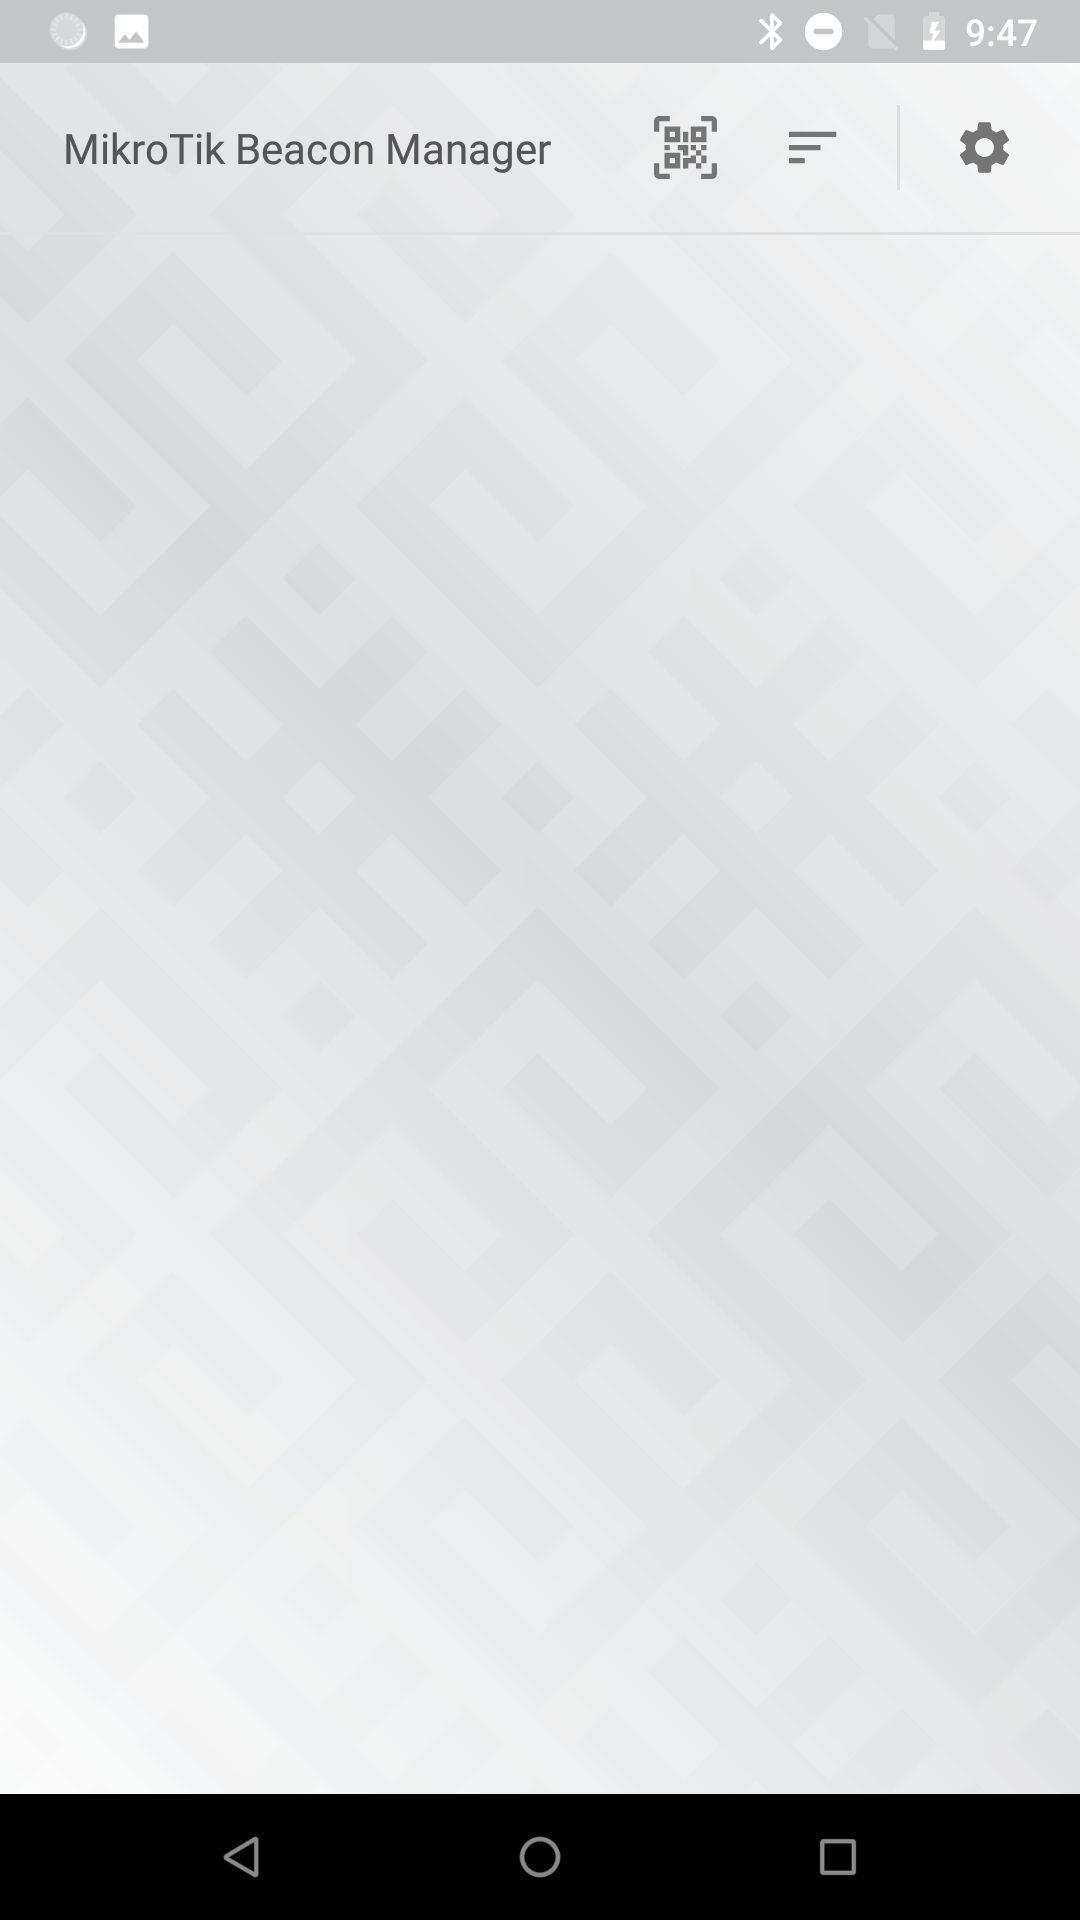
Install the "MikroTik Beacon Manager" application and run the app.
Upon the first login, you will see the list of "beaconed" devices.
General app settings
There are 3 options available on this screen:
...
![]()
...
![]()
...
![]()
...
To enter "APP" settings or to "batch" configure multiple tags
When the device wakes from the factory sleep for the first time, it has this default configuration:
| Advertising packet format | MikroTik |
| Advertising interval | 5.0 seconds |
| Tilt trigger | 60° |
| Accelerometer trigger | 156.25 mg |
| Low noise filter | enabled |
| Tx Power | 6 dBm |
The magnet is used on the reed switch to change the tag's operating modes as described above. As soon as the magnet is detected (the reed switch is activated), the LED will start flashing for the next 5 seconds (first 5 seconds) and, then, stop. It can help you identify that 5 seconds have passed and that you can remove the magnet to enter configuration mode.
Initial steps
Install the "MikroTik Beacon Manager" application and run the app.
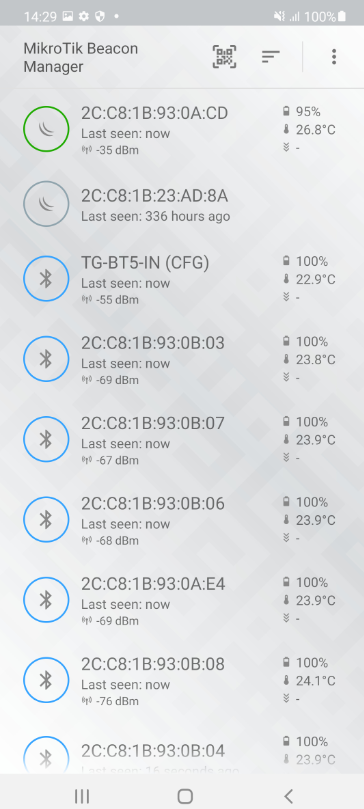
Upon the first login, you will see the list of the nearby devices (devices in either advertising mode or configuration mode):
...

...

...
In the "APP" settings you have an option to configure an interval with which the phone scans for the nearby tags (that show up in the list of "beaconed" devices):

You can enable the "Save triggers" option (which will save detected triggers in the database) that will show triggers under "Sensor Triggers" (otherwise, if not enabled, "Sensor Triggers" data will be erased as soon as the app is closed):

And, lastly, in the settings menu, you can check the current app version.
"Batch Configuration" allows you to import (previously exported) tag configuration and apply it to multiple not-yet configured tags at once.
Preparation for the tag configuration
To "wake up" the tag from the factory sleep mode, the reed switch should be activated for about 3-10 seconds (activating the reed switch = putting a magnet over the Bluetooth logo).
Once As soon as the device is recognized"wakes up", it will show up in the "MikroTik Beacon Manager" list. You can select Select the tag to save it to the list of "beaconed" devices or configure it and you can begin configuring it by pressing the "CONFIG ONLY" button:


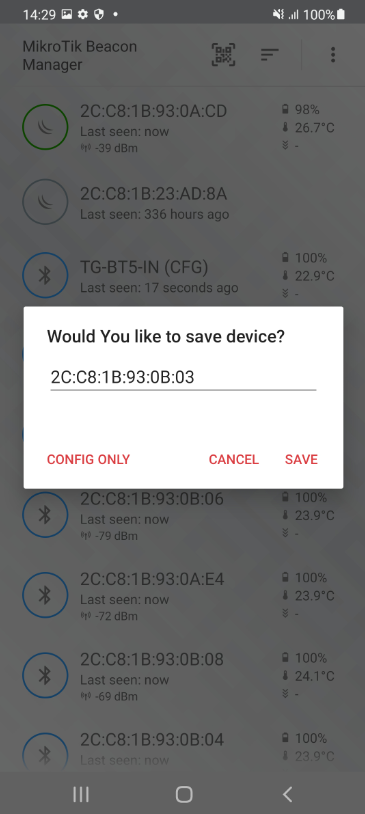
Right after that, you will need to put a magnet over a Bluetooth logo the device for about 10 seconds to complete the steps(this is the step where the device is set to the configuration mode):
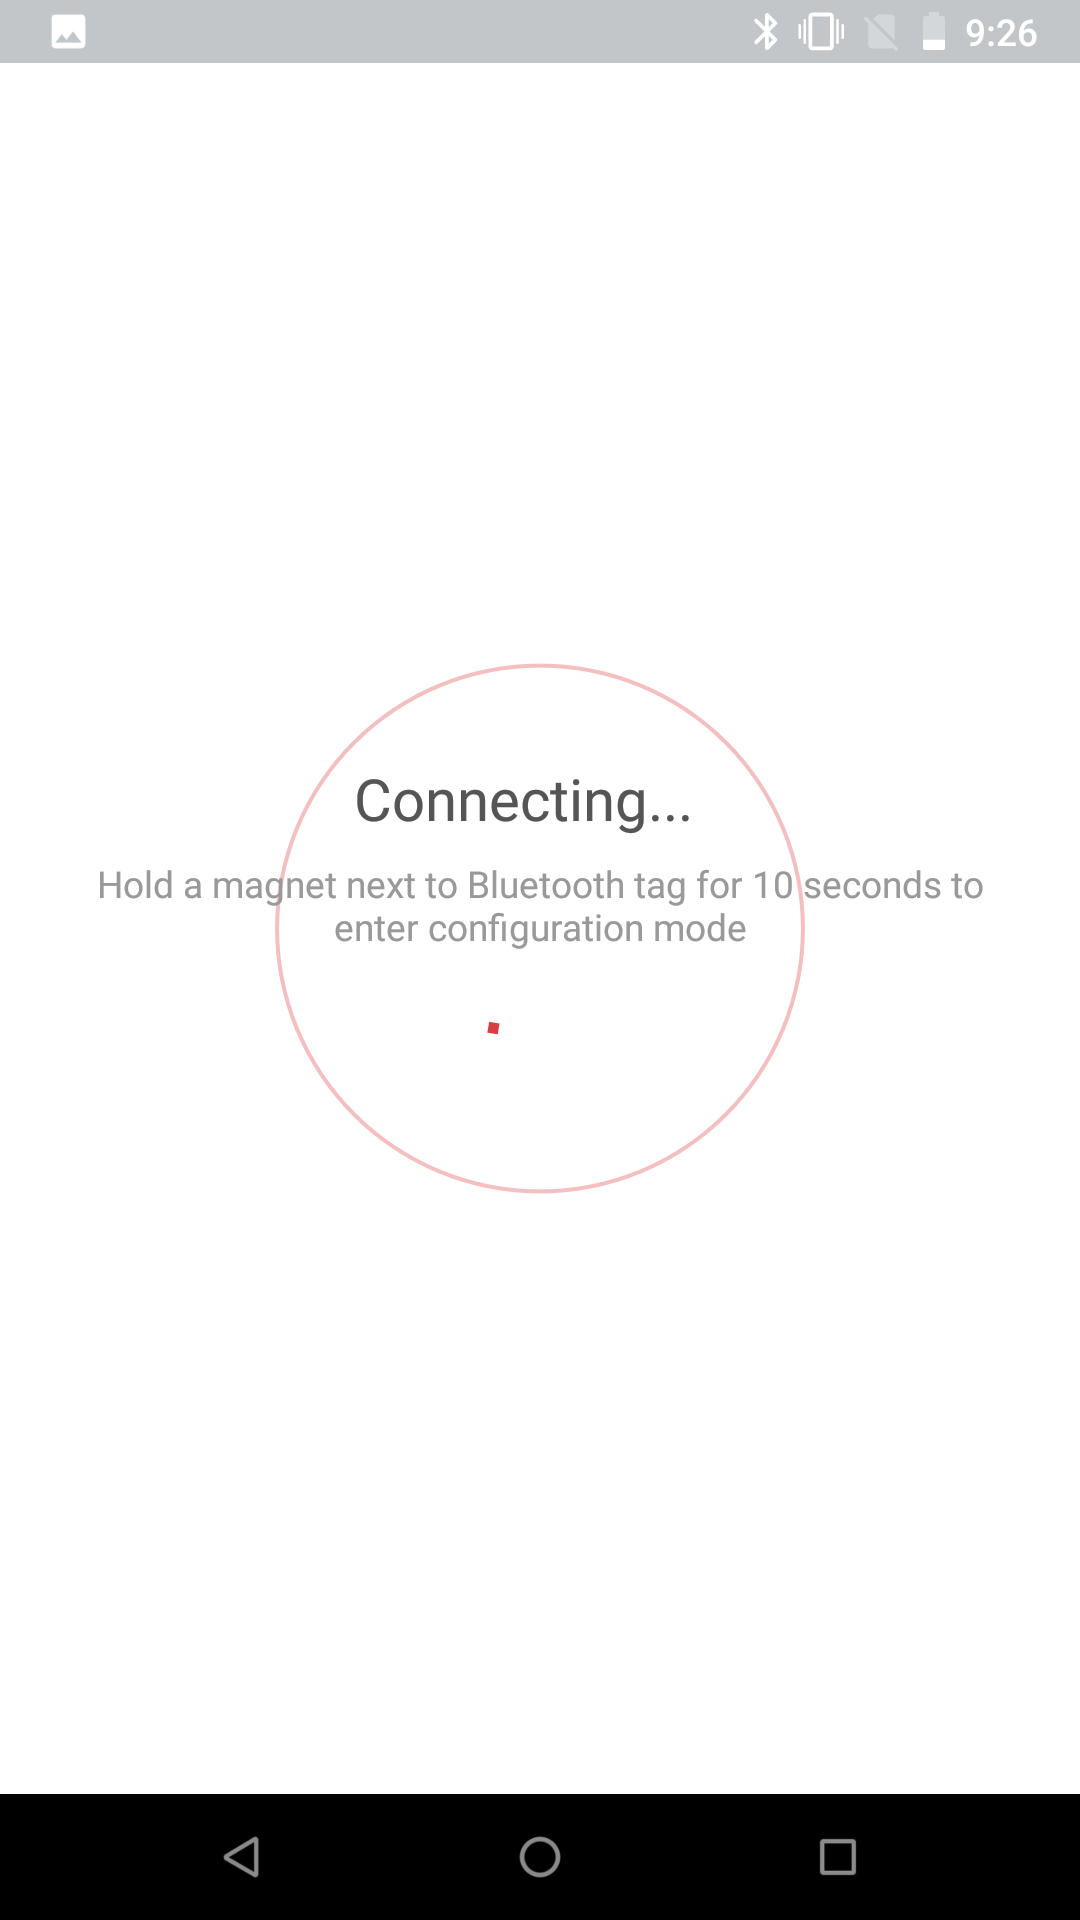
After a short wind up time, the device should be ready for the configurationto be configured:
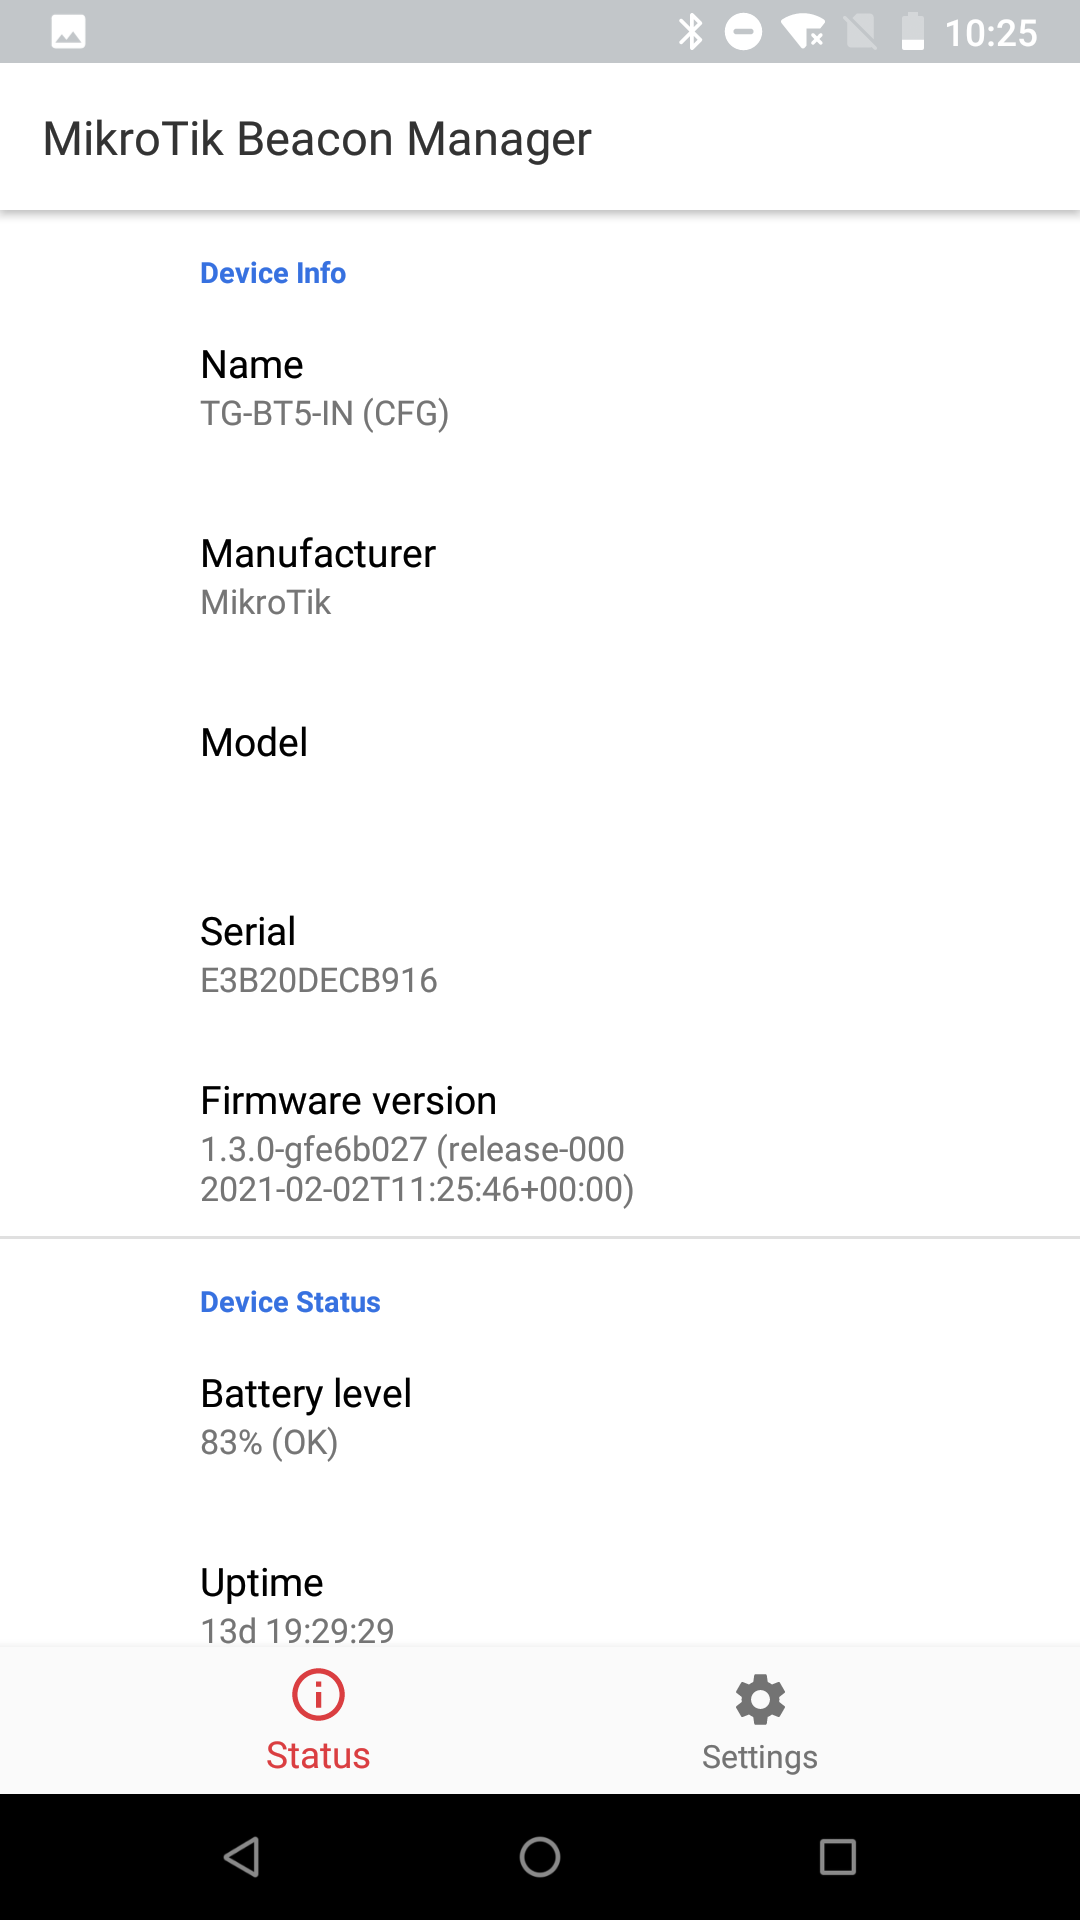
The app will show general information about the tag in the "Status" tab (as shown in the screenshot above).
Tag configuration
Configuration can be altered in the "Settings" tab (settings shown in the screenshots below are "factory-default" settings):

Amongst the options, you can change the "Beacon" settings and "Accelerometer" settings.
Beacon settings
In advertising mode, the tag will broadcast information about itself in Bluetooth advertising packets. The information depends on the advertising packet type.
At the moment these are all the supported types:
Blyott, Eddystone-TLM, Eddystone-UID, MikroTik, and iBeacon.
Each type has an option to configure 4 parameters:

...
whether to send an advertisement when the accelerometer detects a tilt trigger
...
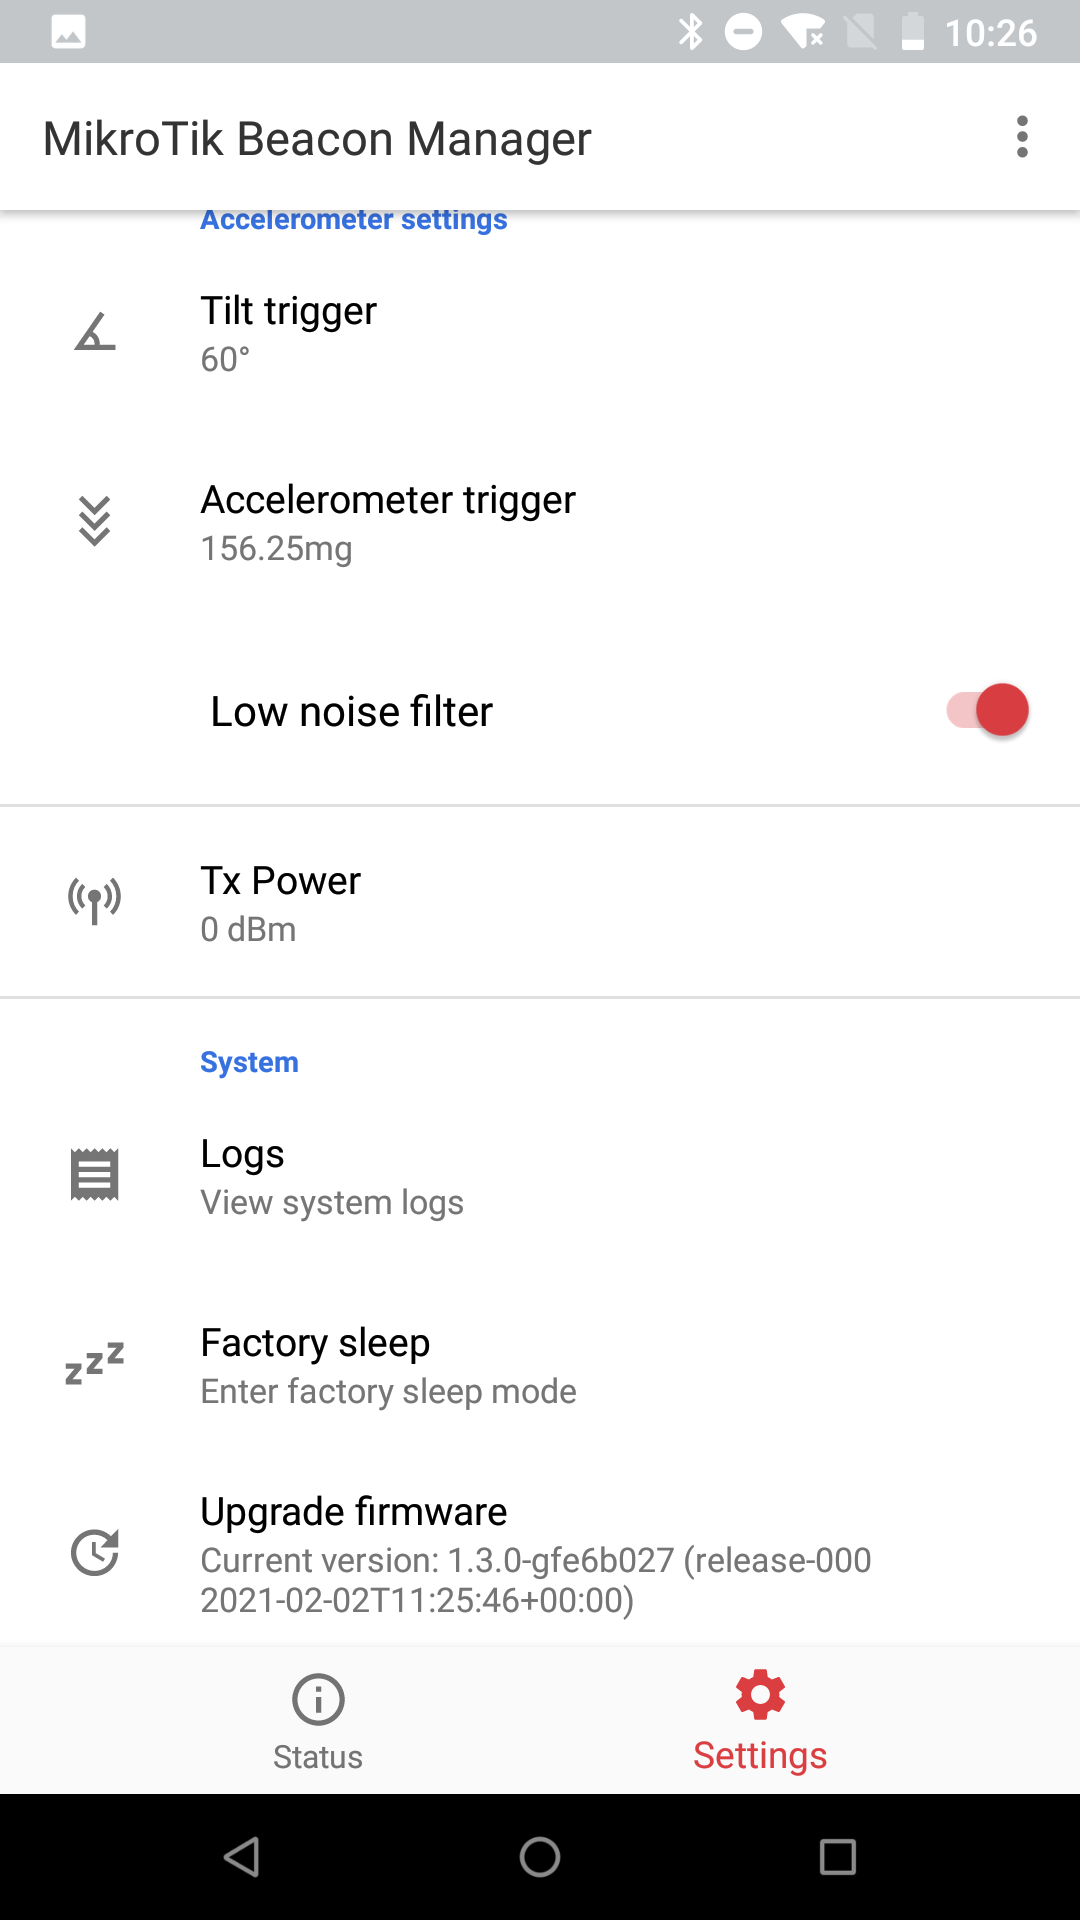
Accelerometer settings
In this menu, you can set up thresholds for the triggers.

...
- Full Scale (2g...16g) - measurement range
- Threshold (5...16) - the threshold for a free-fall function
...
System
In the "System" tab you can view the logs (access to saved info, error and other log messages), put the tag into factory sleep (if the mode is enabled, MCU will wait for the client to disconnect and then enter Factory sleep mode) and upgrade the firmware.
...
Enters factory sleep mode
...
Import/Export

Lastly, you can also import/export the tag configuration using the buttons shown in the screenshot abovewill allow you to alter the tag's setting using the "Settings" tab (as shown in the screenshot above).